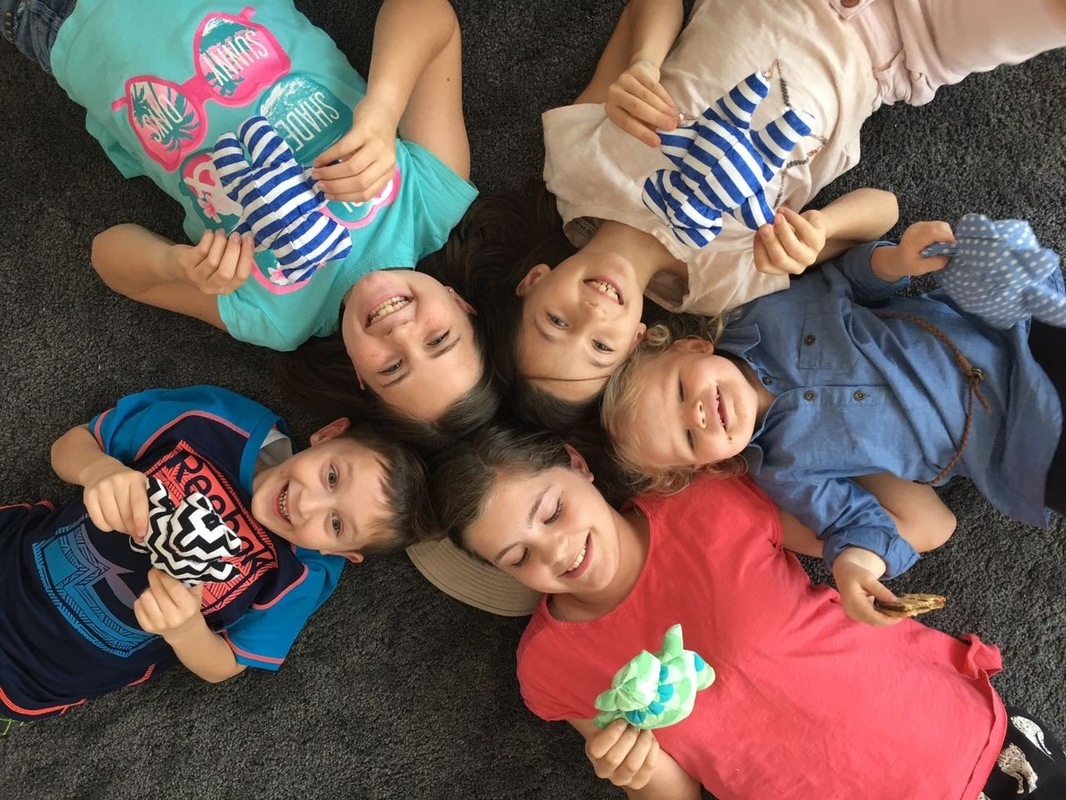
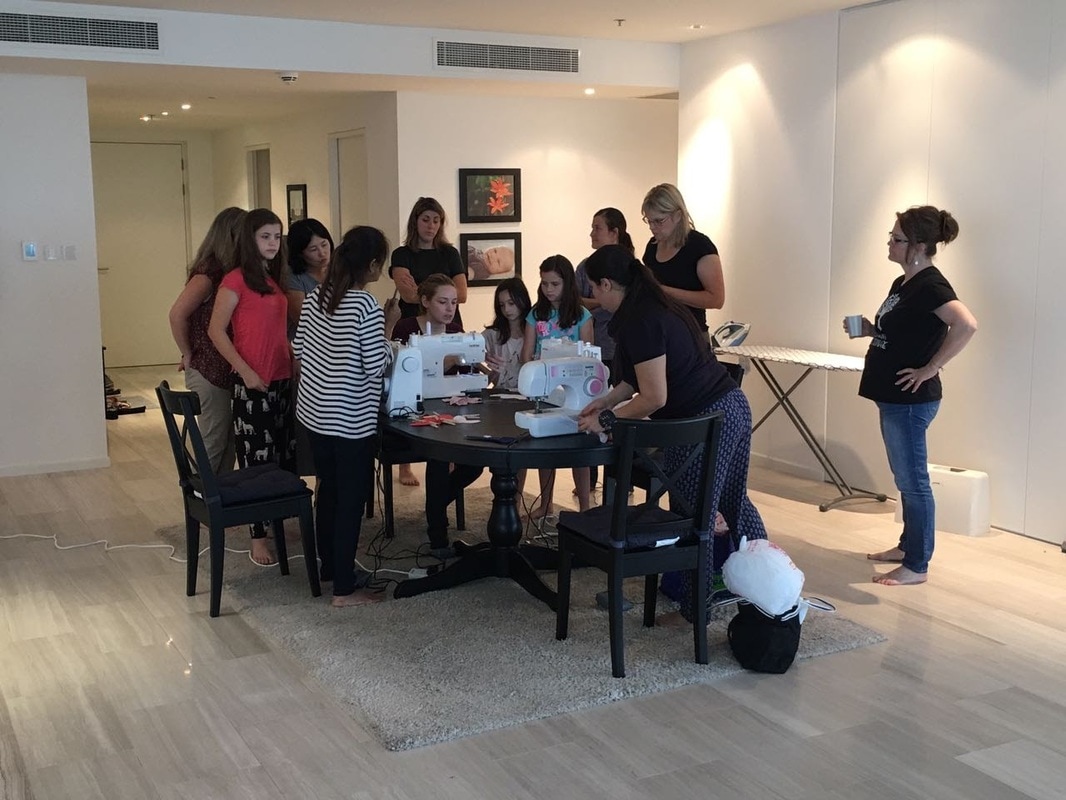
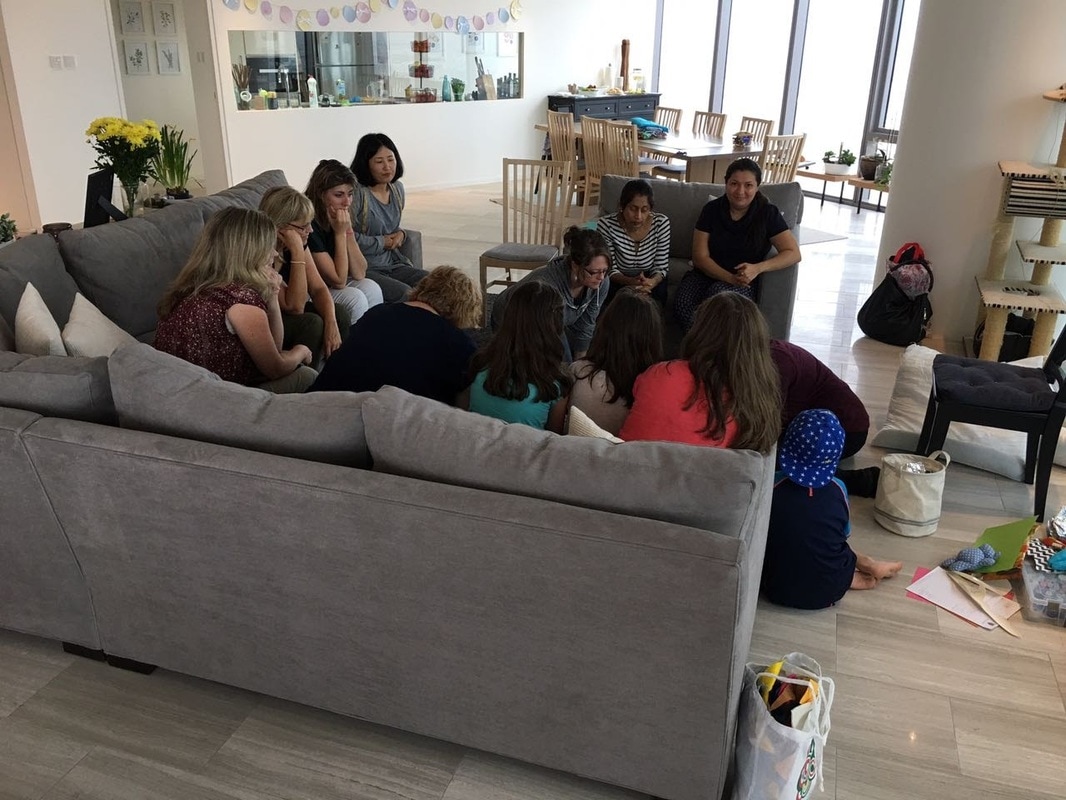
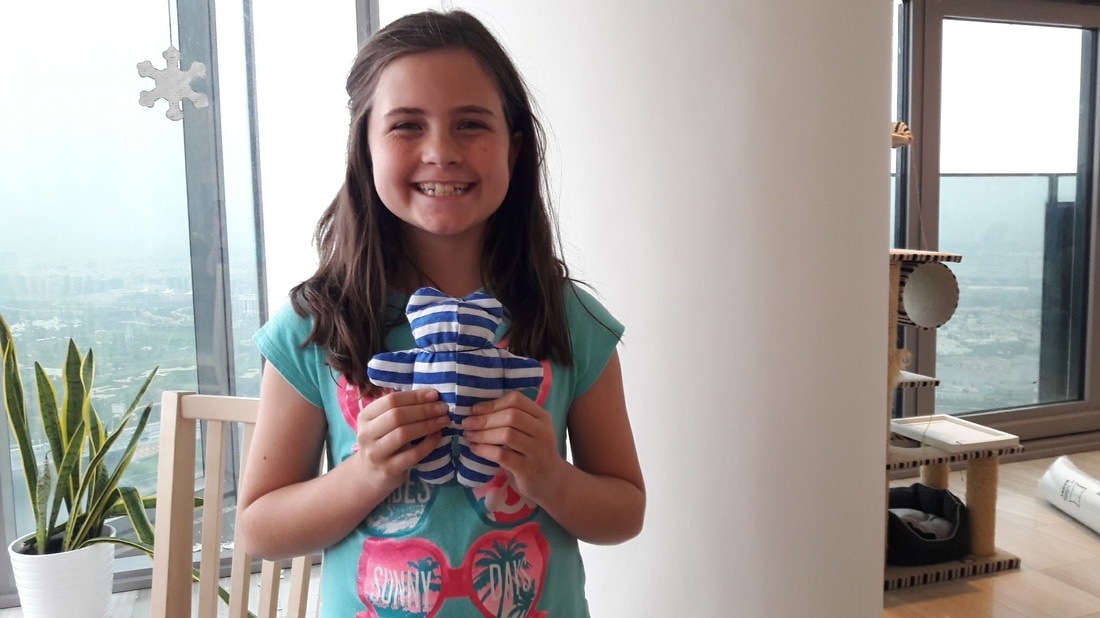
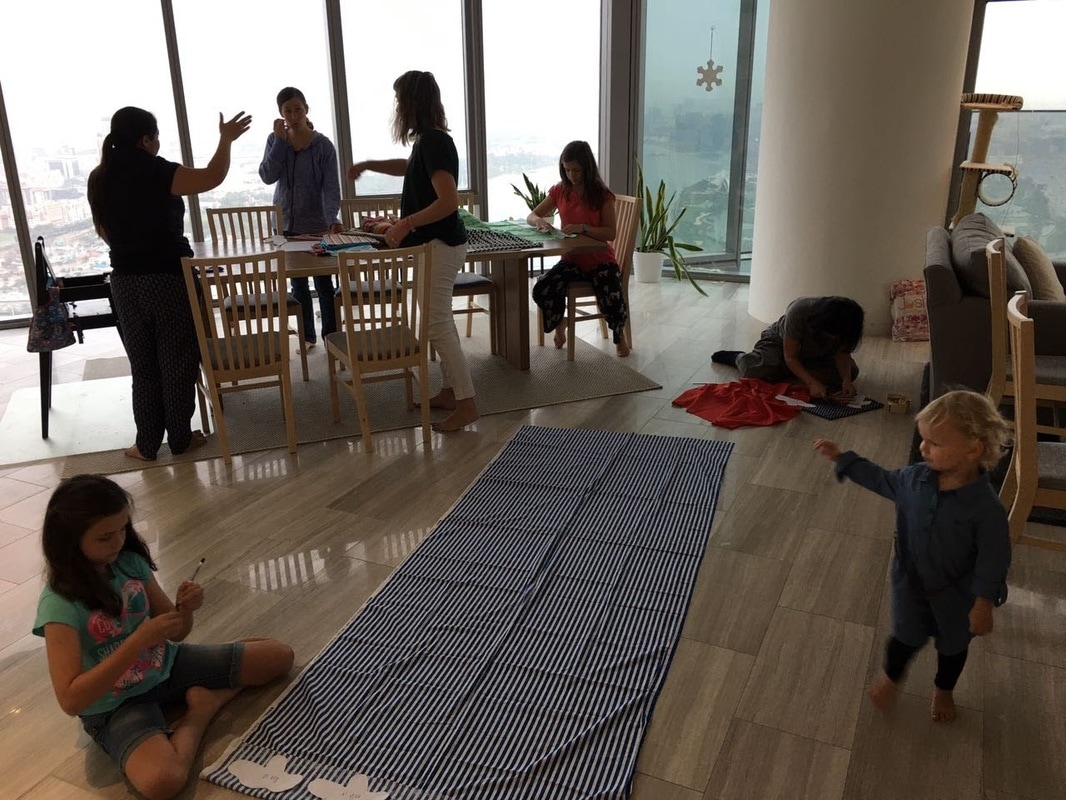
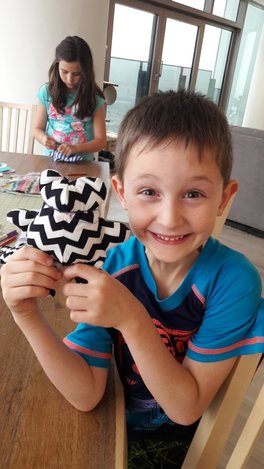
 We had so much fun today at a free little demonstration/class I held for people to learn how to make a fast, simple teddy bear. This bear is perfect for giving to a child who needs a smile, and I hope that all who attended are on their way to making lots of these little guys to fill the world with some much-needed bear hugs.
 Things I learned from my first-ever teaching experience:
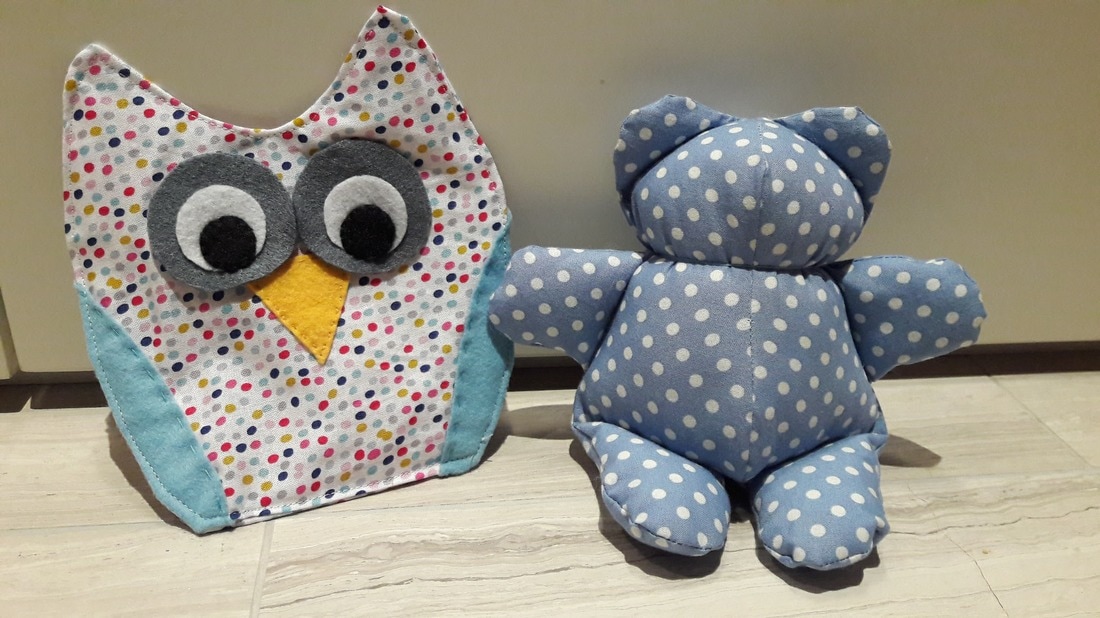
If you'd like to make your own bears, here's the site I used to get the pattern. I use cotton instead of a knit + interfacing (faster), and I flatten out the belly just a touch because if you use cotton, it kind of looks like the bear has a beer belly - or should I say bear belly? I also use pinking shears all the way around the edges, and would recommend putting just a little stuffing in the ears before stitching across them. I've been tinkering with a rabbit pattern adaption, and will post the results when I get the ears figured out. Thanks again to everyone who came today! Next class: rag dolls; I'm so excited!
1 Comment
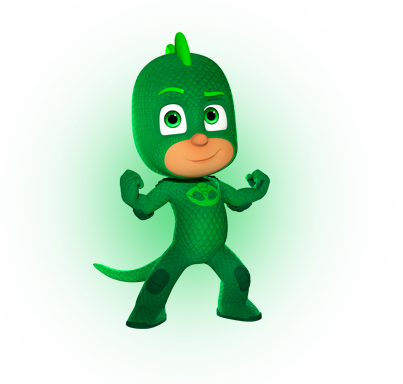
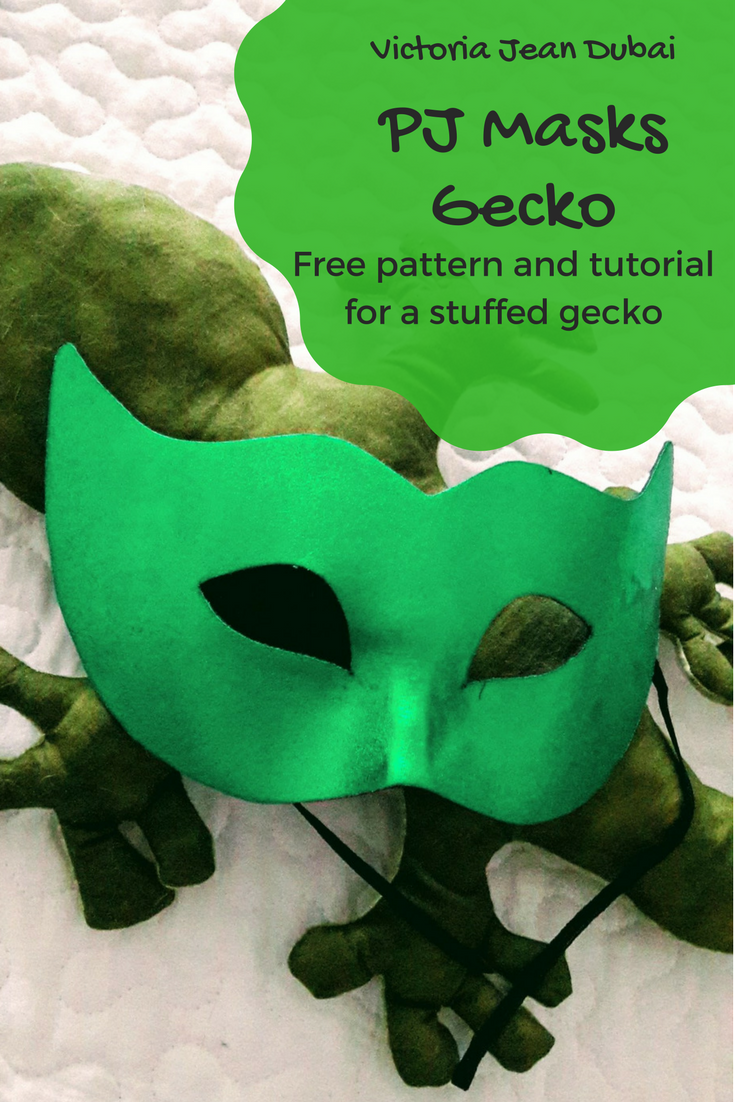 My little Victoria loves the show PJ Masks right now. I actually have no idea why, since it's not really my cup of tea (all things relative when we are talking about shows geared for toddlers...). No matter her reasoning, she gets so excited when she hears the music playing that she runs in place and squeals in delight and shouts, "GECKO!!" right on cue when her favorite character appears on screen.
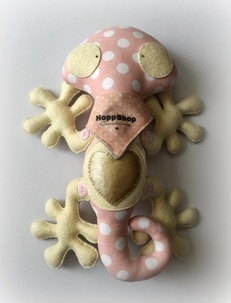
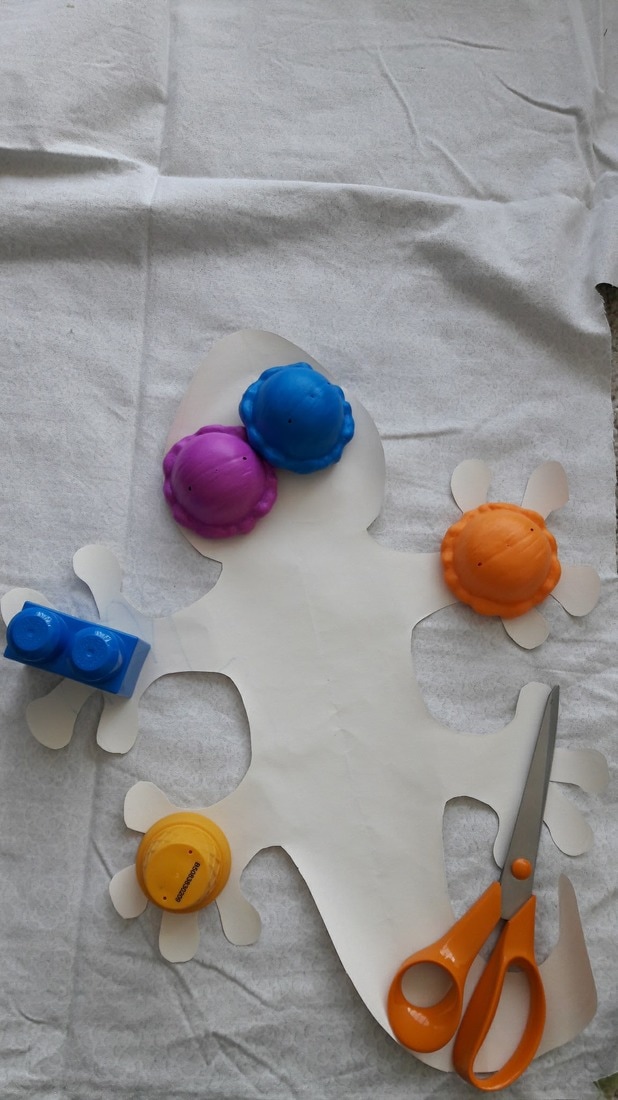
Typically the shows in our household are a bit more, shall we say, educational. But what's a mother to do when her child shows such enthusiasm she starts crawling around on her hands and knees chanting, "gecko! Gecko! Gecko!" all day long? Make her a gecko, of course. I looked for a cute but simple pattern (I didn't want to invest too much time into this thing in case the PJ Masks only last one more nighttime of crime fighting before becoming old). I couldn't find any that I loved, so I used HoppShop's geckos as my inspiration and when I was drawing it out, decided 5 toes are far too many to deal with on each foot, and do I really need separate fabrics and feet attached via buttons and all that such? And eyes? Do I really need eyes that she will rip off? No, I decided. No I do not. Thus was born a very simple, very easy and fast (done in one naptime!) gecko.
3. Cut out the fabrics together, in a rough shape around the gecko. No need to be precise, and leave at least 1/4 inch around the edges. 4. Sew around the gecko directly on the line you drew, starting along the "straight" side of the tail, going around each and every blasted toe on each and every blasted foot, and leave a couple inches gap for turning and stuffing. Be a little generous on the gap size - it's easier to ladder stitch an extra inch than it is to turn and stuff all these toes (have I mentioned how many toes there are?) through a tiny gap. 5. Grab some pinking shears and cut around the whole gecko, and cut wedges out of the corners and V shapes between the toes - I wasn't very careful with this, so if you want a decent gecko, do as I say, not as I do... 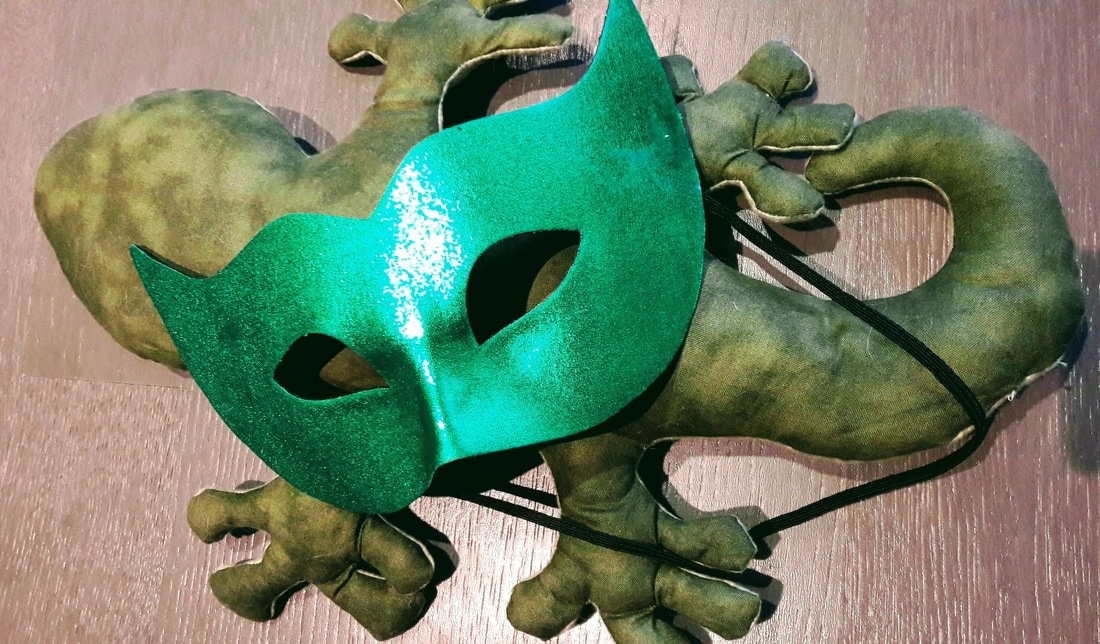 6. Turn it right-side out using a chopstick, stilletto, eraser end of a pencil, whatever. May you have super gecko strength with you. And patience. Stupid toes. Good thing I only did 4 toes on each foot instead of 5. I won't even allow myself to Google how many toes geckos are supposed to have. I have a feeling I don't want to know the answer. 7. Stuff the gecko, starting with the toes furthest from the gap, using painfully small bunches of batting. Once you stuff all the toes, stuff the tail tip in similar fashion and then the main body. I was running low on stuffing, so don't judge my lumpy gecko. He'll compact down anyway, right? 8. Ladder-stitch closed the gap, freeze, and stop making any noise. Did your toddler just wake up? Congratulations - you just made her favorite super hero while she slept! The irony of saving the day while in the night (or in this case, nap) is not lost on you or me. You're the real super hero. Yes, you. 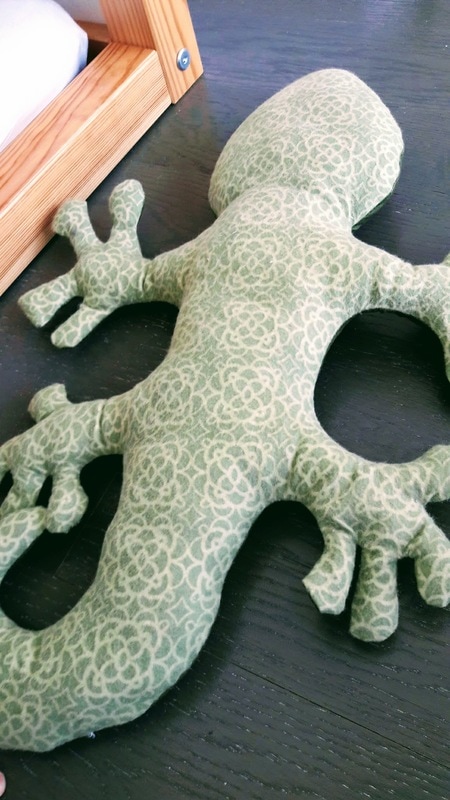 When she woke up from her nap (I wasn't kidding about that whole done in one nap thing), I presented her with the gecko. Her face lit up, and she said, "Gecko?! Mamma, GECKO!!!" And she grabbed it and promptly threw it across the room. Hmm. Mixed signals, right?
That night she refused to go to bed without it with her, and she was pounding her fist on the mattress yelling, "Super gecko strength!" Apparently absence makes the heart grow fonder, and gecko's time across the room did their relationship a bit of good. So, if you want a quick gecko and don't care about anatomically correct feet on said gecko, here you go. Enjoy!  Oops! You missed it! Better luck next time ;)
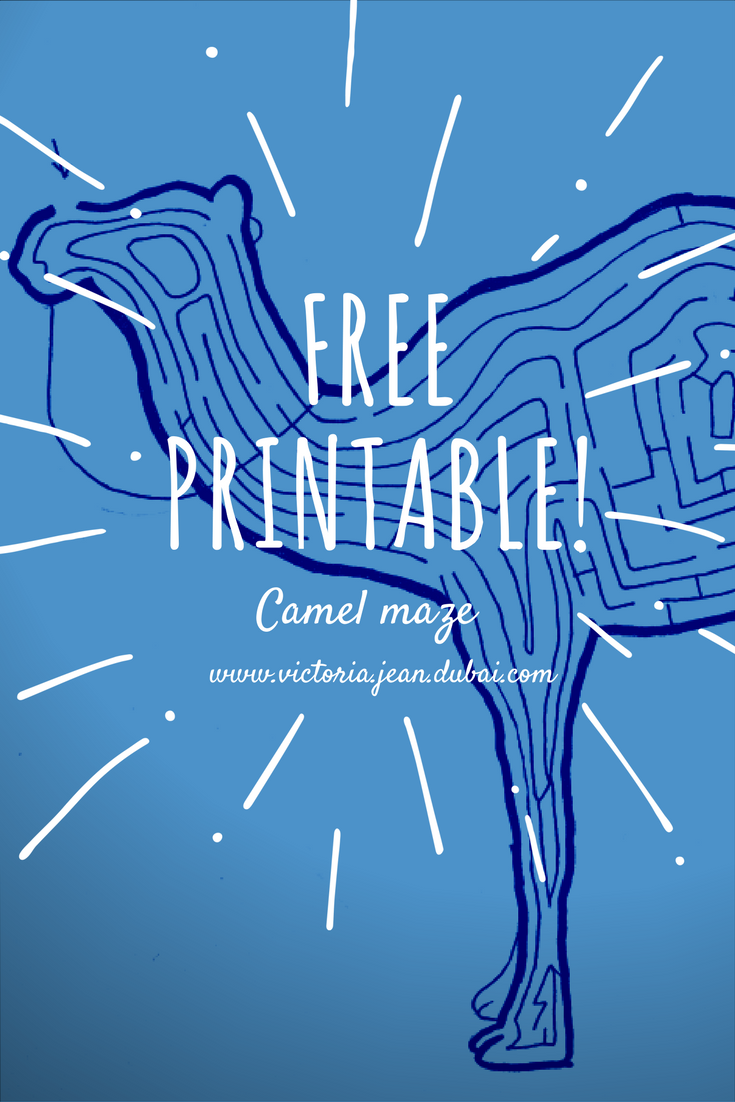 I've been playing with one of my Christmas gifts - a Wacom drawing tablet. So with a mix of media (some drawn by hand, some via tablet... blah blah), I give you a free printable camel maze! I know, the crowd goes wild! You're welcome. May you find your way through the maze - no, really. I am far from a professional maze designer, so I hope there actually is a way to get through it. Download link is at the bottom of the page! 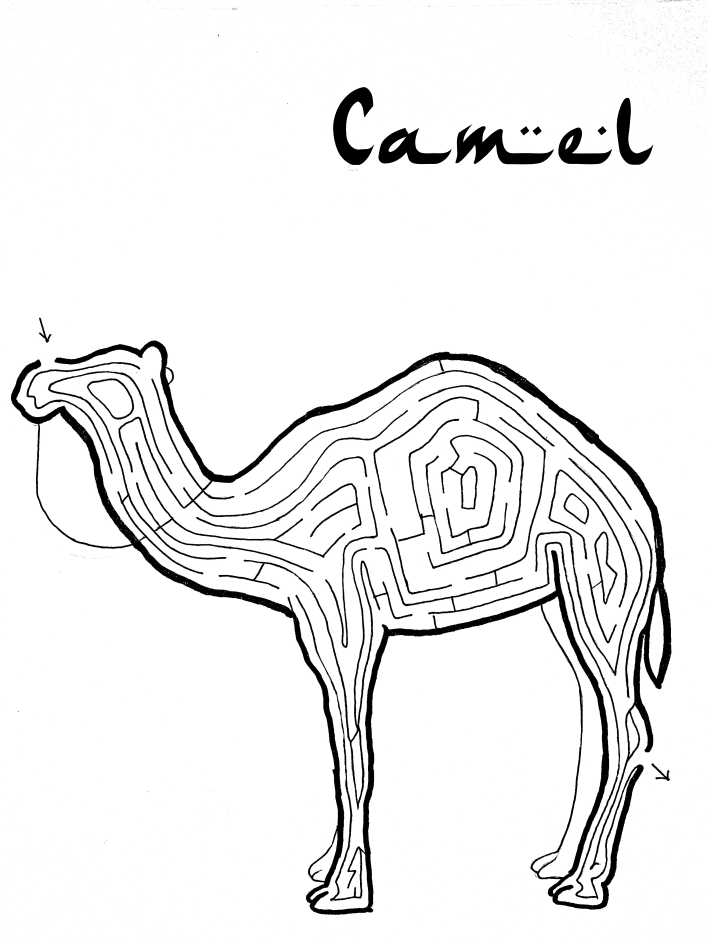
|
AmandaI love herbs & spices, cats, low brass instruments, international relations, culture, traveling, writing, and most of all, my family. Archives
February 2019
Categories |
||||||||||||
 RSS Feed