 And IIIIIIIIIIIII whale always love yoooooooouuuu... Boy have I got a whale of a tale for you today! Too much? I whale stop. Ha. No I won't. You're stuck with a whole blog post of whale puns. I'm working on a tutorial for a giant bean bag chair, but this is turning into my first tutorial instead of the beanbag chair because Sharjah. If you live in the UAE, you will understand why things are taking a bit longer for the bean bag chair because I'm sourcing from and have to drive to Sharjah. So, while we put a pin in that (several, actually), here's a different tutorial, instead! Hooray!
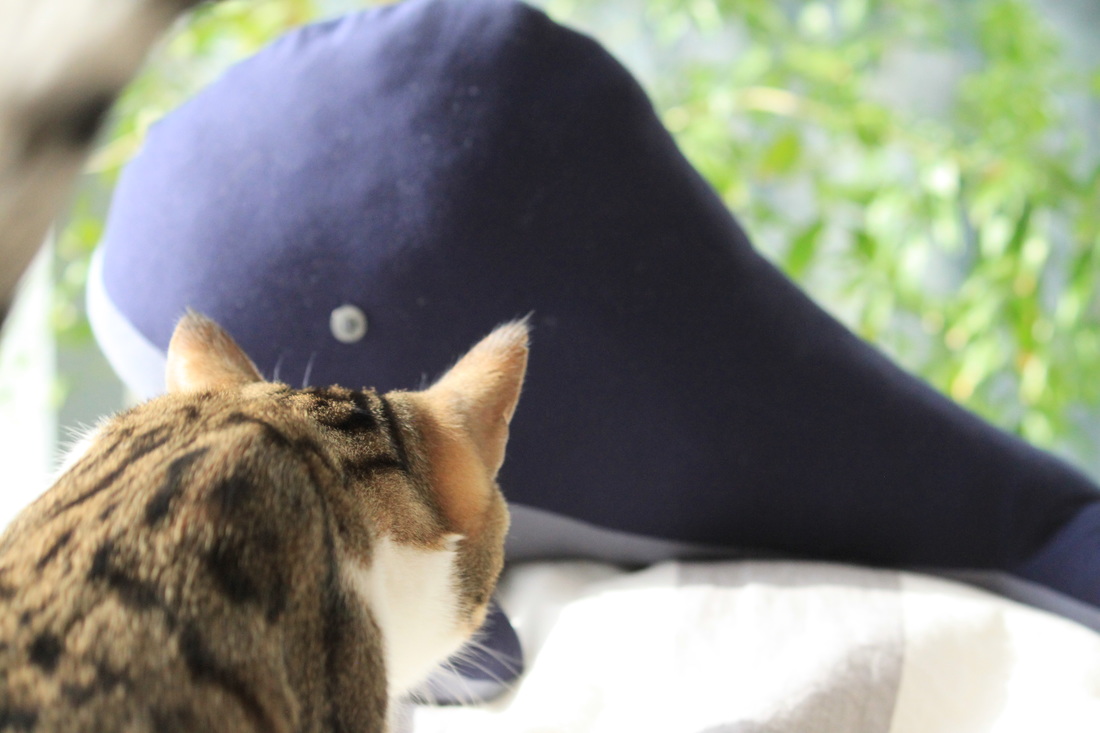
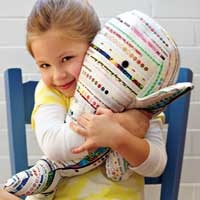
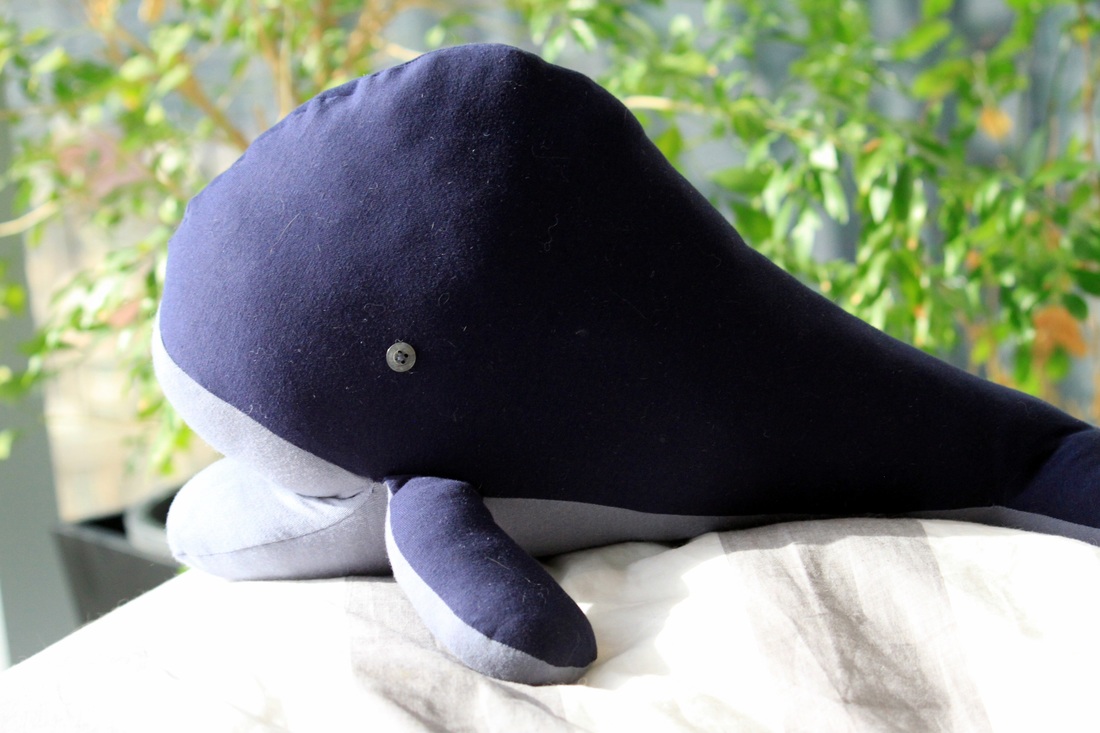
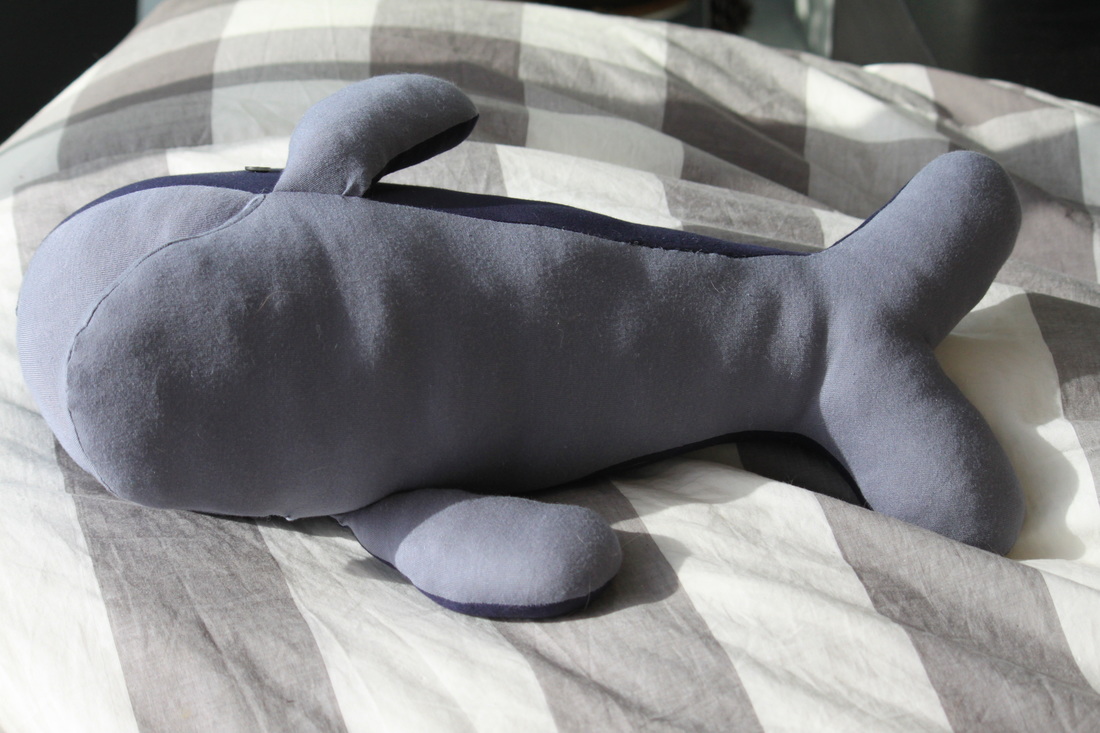
That's whale Victoria Jean comes in, to SYW (that's obviously for Save Your Whale)!! 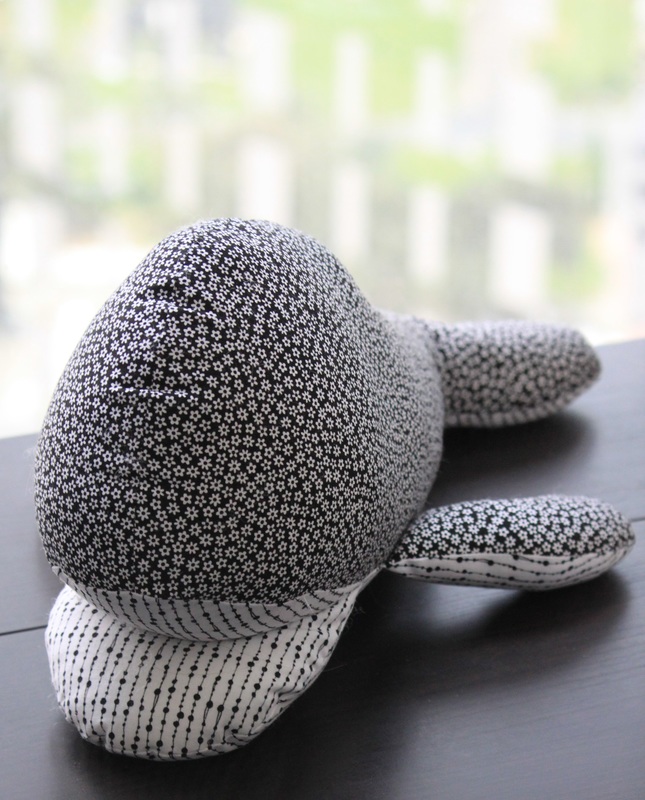 So, this pattern proved easy enough for me to figure out, but likely because I ended up making several. The first was for a baby shower - for little Jack, who whale have a nautical-inspired nursery to drift off to sleep in each night. Guys, is it just me, or is my imagery today on point? Here's my first whale, for little Jack, who was still swimming in his mamma's tummy:
Some notes:
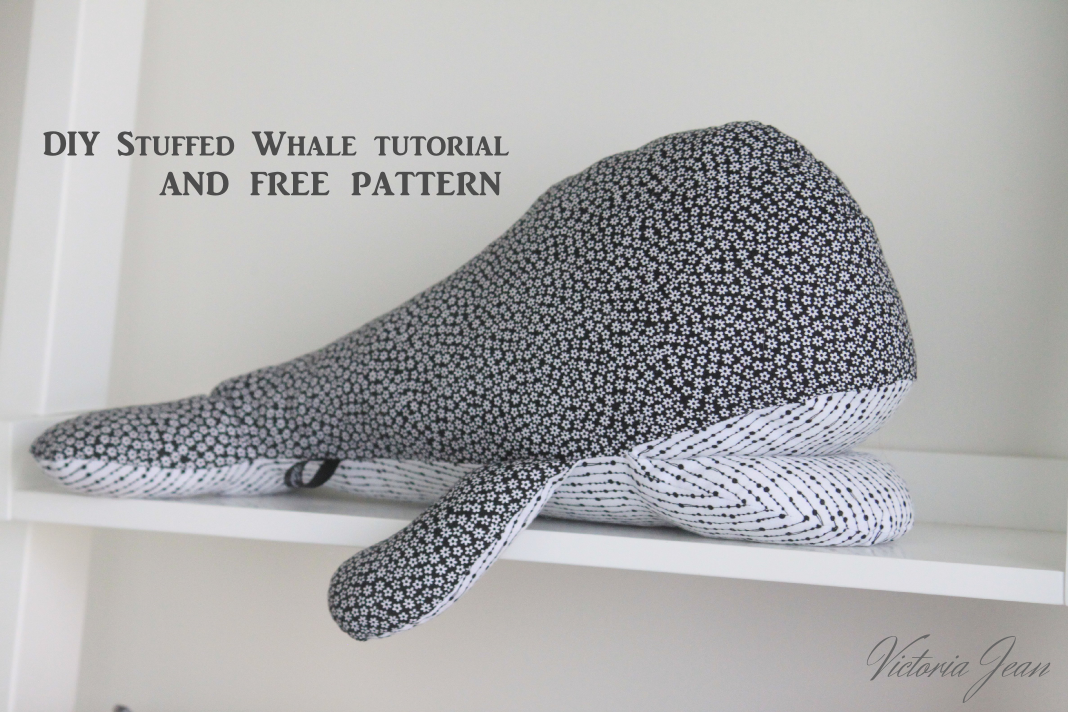
 Somethin' smells fishy 'round here... DIY yourself a whale!
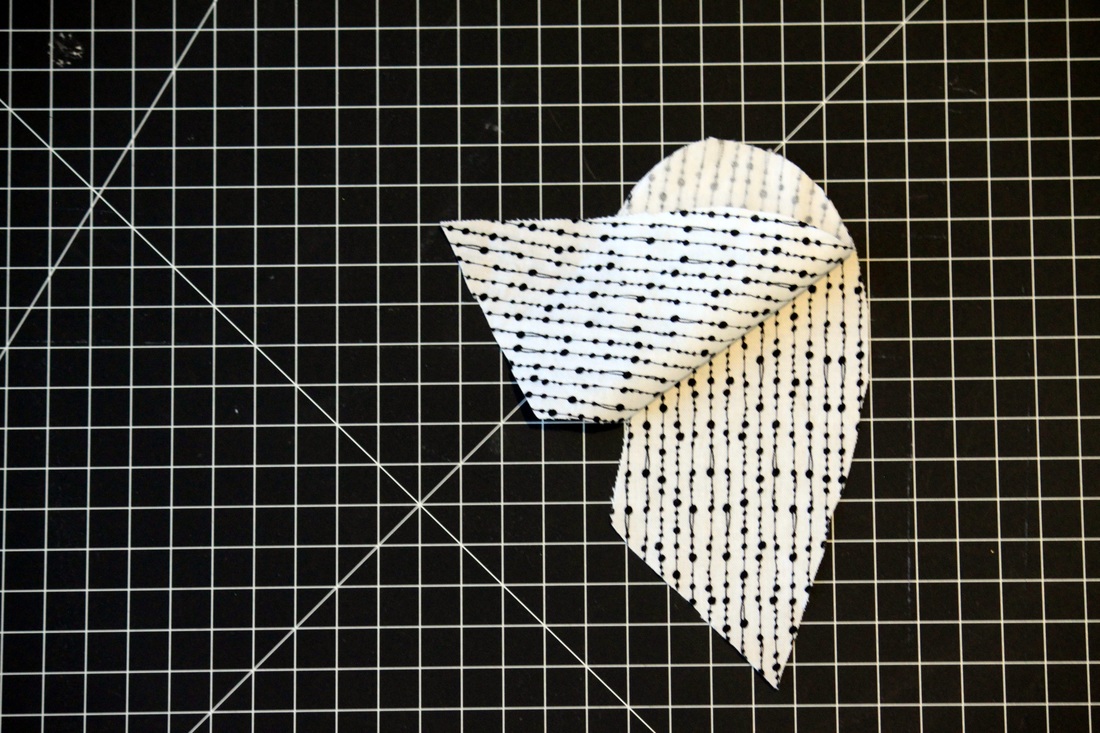
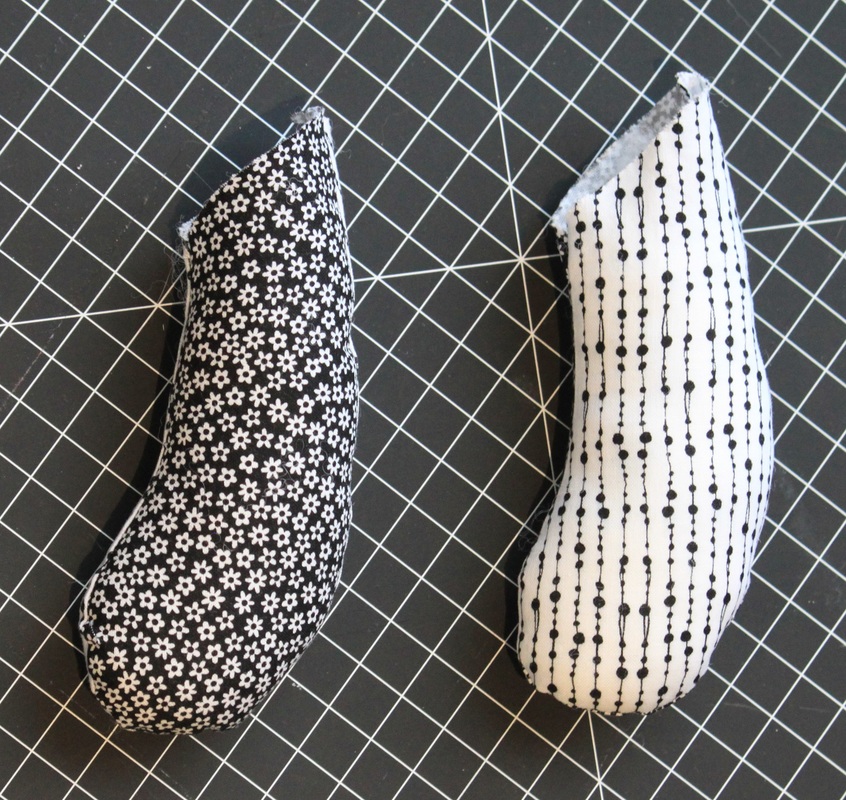
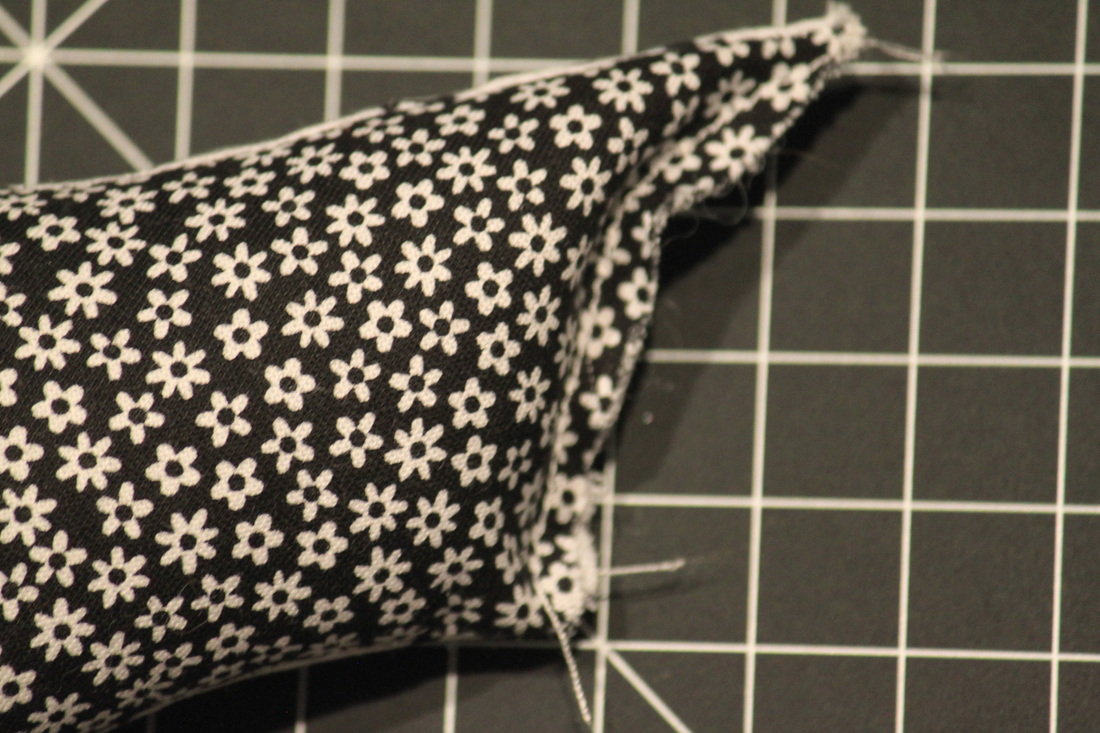
3. Fins - Pin your fins right sides together and sew around them, leaving the "top" open. *I used a 5mm seam allowance for the whales* I figure that's the standard stuffed animal seam allowance, and it sort of worked. I will get to the mouth later... If using cotton or a non-stretch fabric, cut notches in the curve or use pinking shears so your whale is nice and curvaceous. You can press your seams if you want, but I like the fluffier, less formal feel for stuffed animals. Stuff to your desired stuffiness, leaving enough space at the top to sew it inside the whale. You can stitch the top closed, if you want. This to me makes it easier to sew inside.
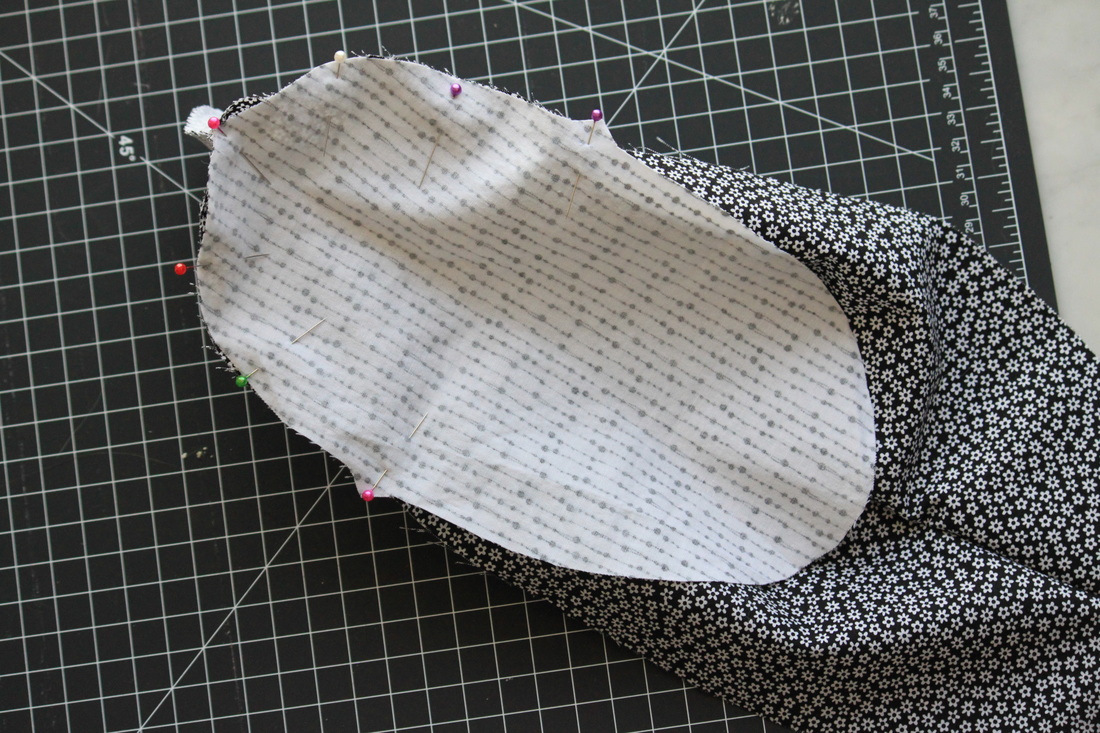
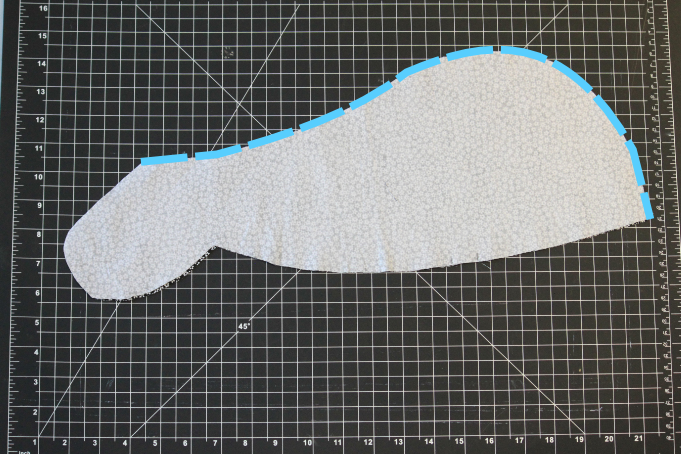
4. Pin the sides of the whale together (right sides together) and sew from the V part of the tail to the nose. Make sure you secure your stitching, and if you do follow me down the dark (but oh so loveably soft) jersey path, use a zig zag stitch so your seams have some give and don't pop from lots of lovin' 5. Match up the mouth piece to the belly of the beast using those handy notches you were definitely supposed to do in step 2. Right sides together, now! Pin the curvy part to the notches, and sew from notch to notch around the lip of the whale. Do whales have lips?
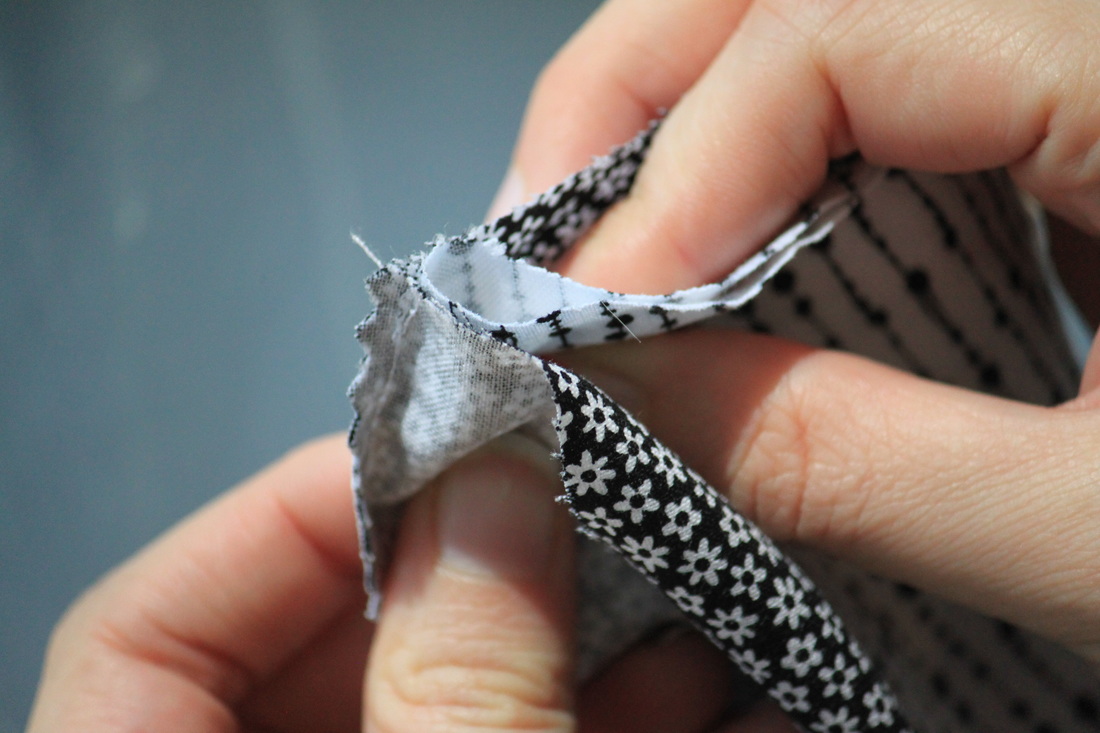
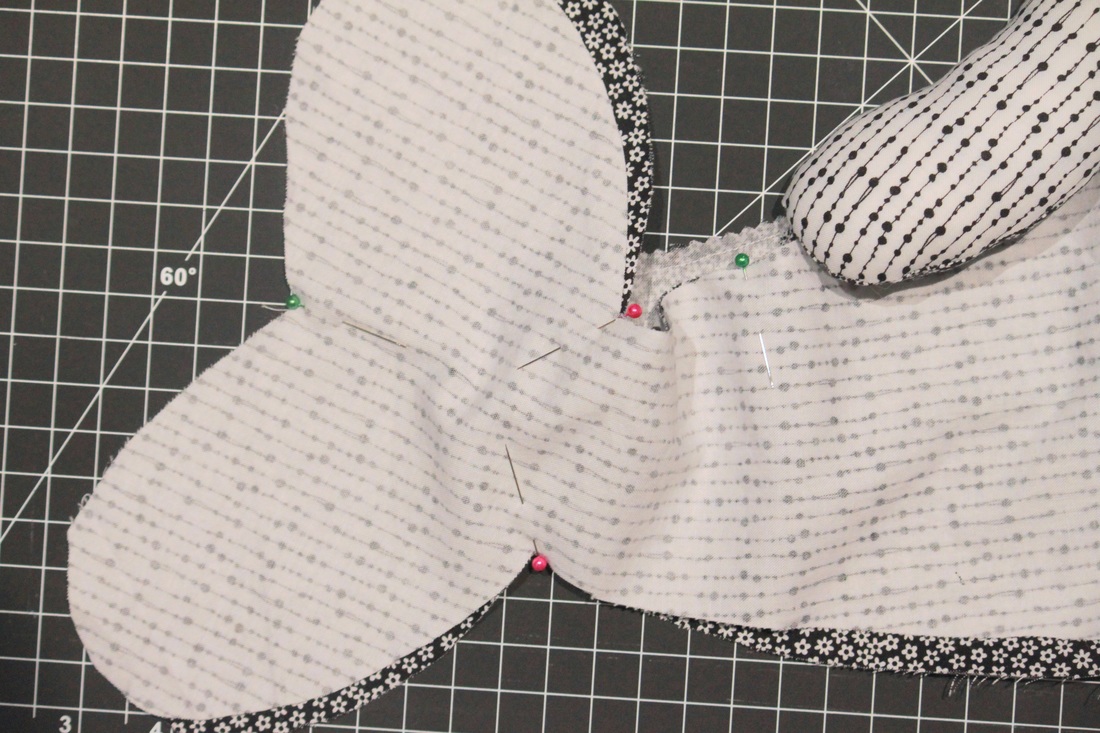
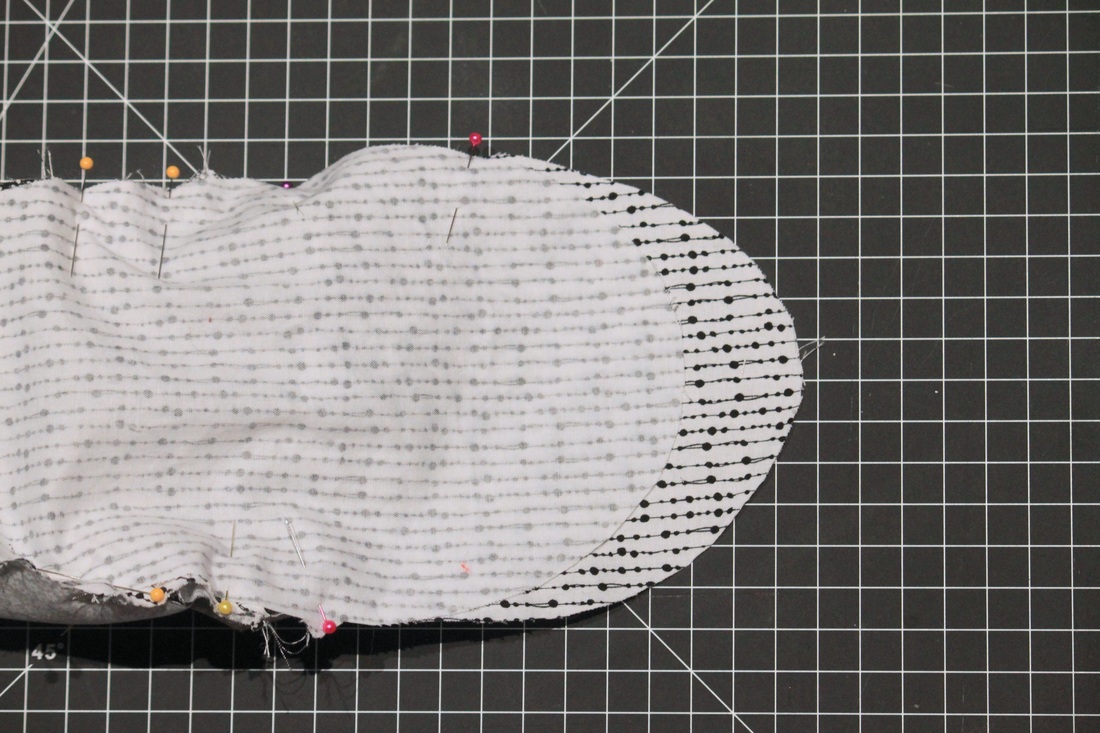
 5. Sew from lip notch to lip notch, AKA the nom nom notches 6. After googling whether whales have lips (they don't, which apparently makes nursing whales more of a squirt n' go process), you get to pin all the pieces together, right sides together. If you're putting in safety eyes, do that before you pin so your life will be easier. I'm not really sure I can explain this very well, so I'm hoping you can figure it out when the pieces are in your hands, and you can see the pictures. Just make sure your fins are going the right way (pointing back toward the tail) and if you used different colors for the belly and the back make sure they match up. It's a tight squeeze to fit the fins there together, so I kind of shove them inside the sides. Again, hopefully you can figure this out despite my explanation. There's no notch on the fin pattern pieces, so I just started the fins at the fin notches. The "bottom" of the mouth will be sewn to the belly, and the top to the sides. If you're putting in a tag, now's the time to do that. Whales don't have noses like teddy bears (didn't even have to Google that one). So I probably wouldn't put in a nose... blowholes are totally acceptable. Aaaaand for the mouth. Despite trying my darndest and asking several other seamstresses, I couldn't determine the need for the extra fabric on the mouth. If you cut your piece according to pattern, you'll notice it doesn't match up on one half. One matches perfectly with both lipless lips. I tried putting the smaller side of the oval on the top, on the bottom, with jersey, with cotton, with courderoy, with a big gap for the world's largest stuffed whale jaw... I just cannot make it make sense. Instead, I ended up cutting off all the extra fabric, creating an oval with the darts in the center of the oval's sides, and stitching it up. It also works fine if you cut out the paper pattern, fold it in "half" where the darts are, and cut off the extra paper so when you unfold it the darts are centered. Then your fabric oval will be the same and you won't have to cut off the extra after sewing it together. I honestly can't tell if mine look the same as the whale in the picture, or if they are different. So, if anyone figures it out PLEASE tell me, because I've actually lost sleep over trying to figure out why the pattern is the way it is. What can I say? I take my mammals seriously. You may notice you'll get a Y seam at the mouth, sort of. Since the mouth piece is an oval, it's not quite like sewing a hexagon quilt or something, but make sure you don't have holes, and readjust as you go so you don't sew layers together that shouldn't be sewn (sorry, Jack's whale). PS, make sure you leave a hole that's a couple inches wide for you to stuff your whale, making sure your fins fit through the hole. I did 4 inches. PPS, using a stiletto really helps when trying to get the fins through the feed dogs (especially if using jersey), and I love using one for the curving parts. 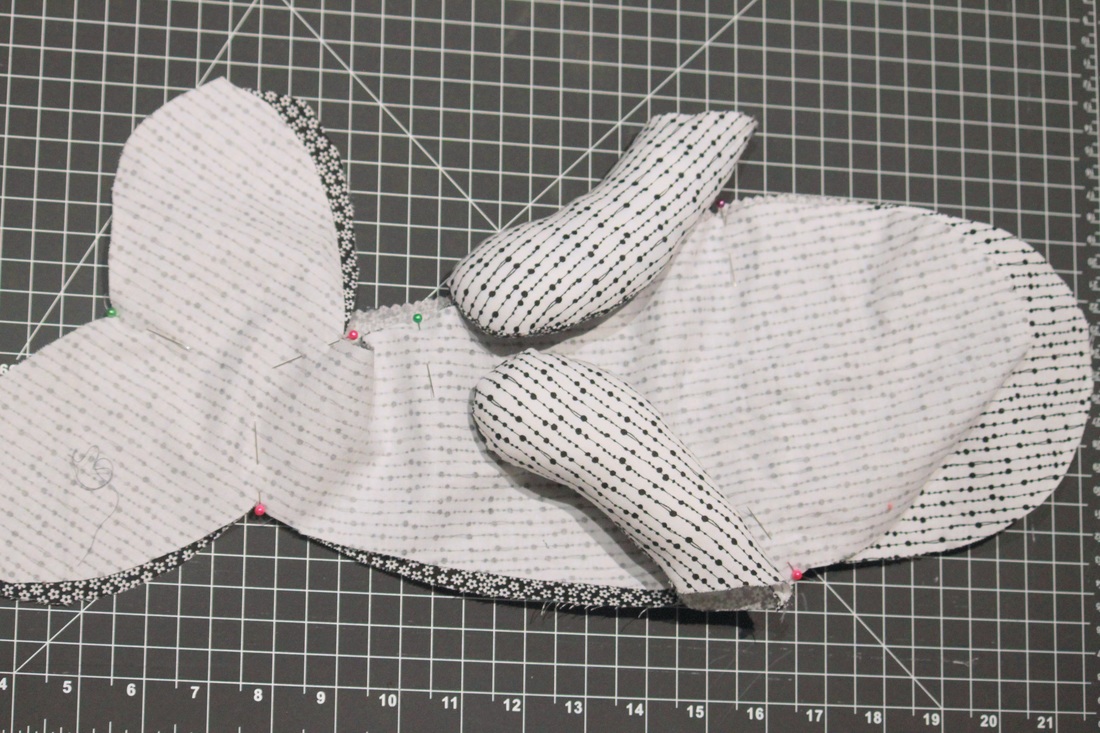 6. The fins and the pins and th-- this is a tricky step to pin, but harder to sew if you don't pin really well
7. Cut notches, wedges, use pinking shears, etc for the tail and Y seams. Press seams if you want. 8. Turn right-side out, and make sure there are no holes in the seams... Sorry, Jack's whale. Redo as necessary... And then start stuffing that bad boy! If you want stuffing advice, I like this post from While She Naps. Unfortunately, I don't have access to great filler here in my neck of the desert, so I butcher IKEA pillows. Use the fluffier ones, NOT the kaktus pillows. I have to really squish it around so it's not lumpy. And you will use a lot more than you think. One whale takes me a little more than 3/4 of a 50 x 50 cm pillow. Unless it's Jack's whale, in which case I couldn't stuff him like I should. Stretchy jersey. Grr 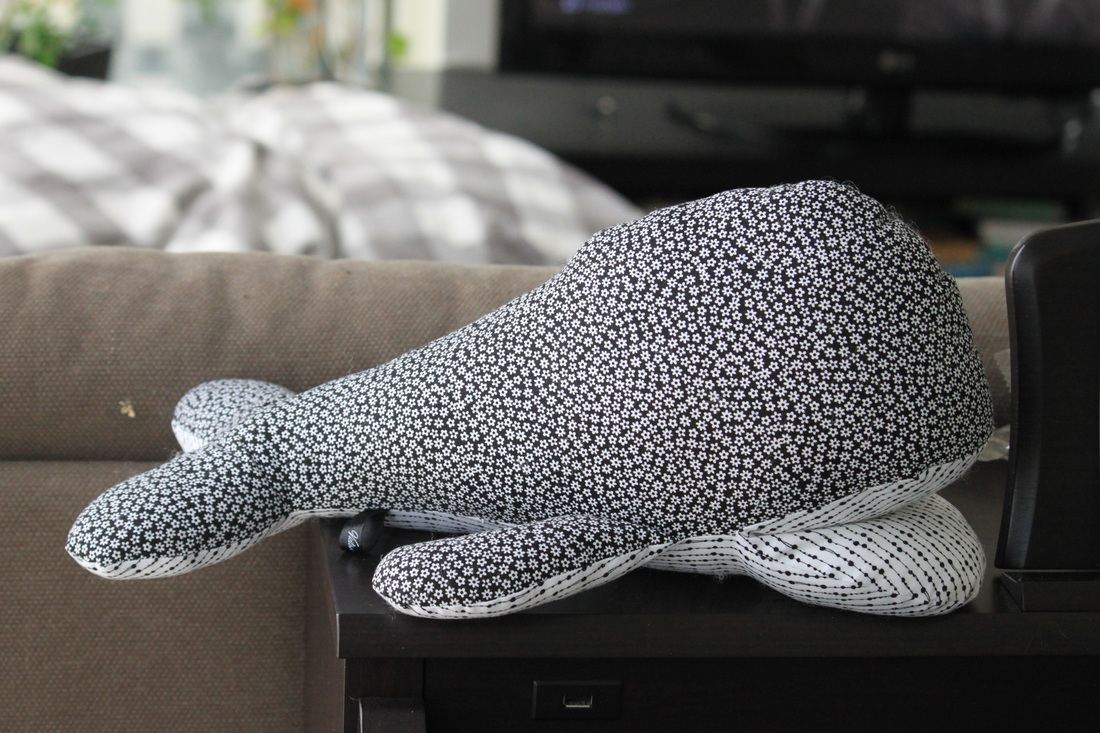 9. Stitch up your hole, add eyes if you please, and TA-DA! You've got your own whale of a tale! Finally, because I was in the mood, here's a cute little printable to go with your nautical baby! Size A4 Click here to download as a pdf. 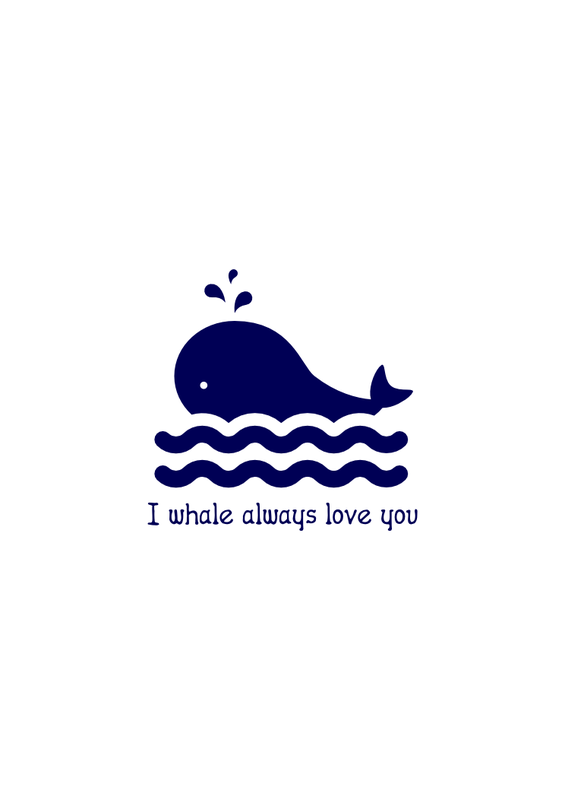
3 Comments
|
AmandaI love herbs & spices, cats, low brass instruments, international relations, culture, traveling, writing, and most of all, my family. Archives
February 2019
Categories |
 RSS Feed