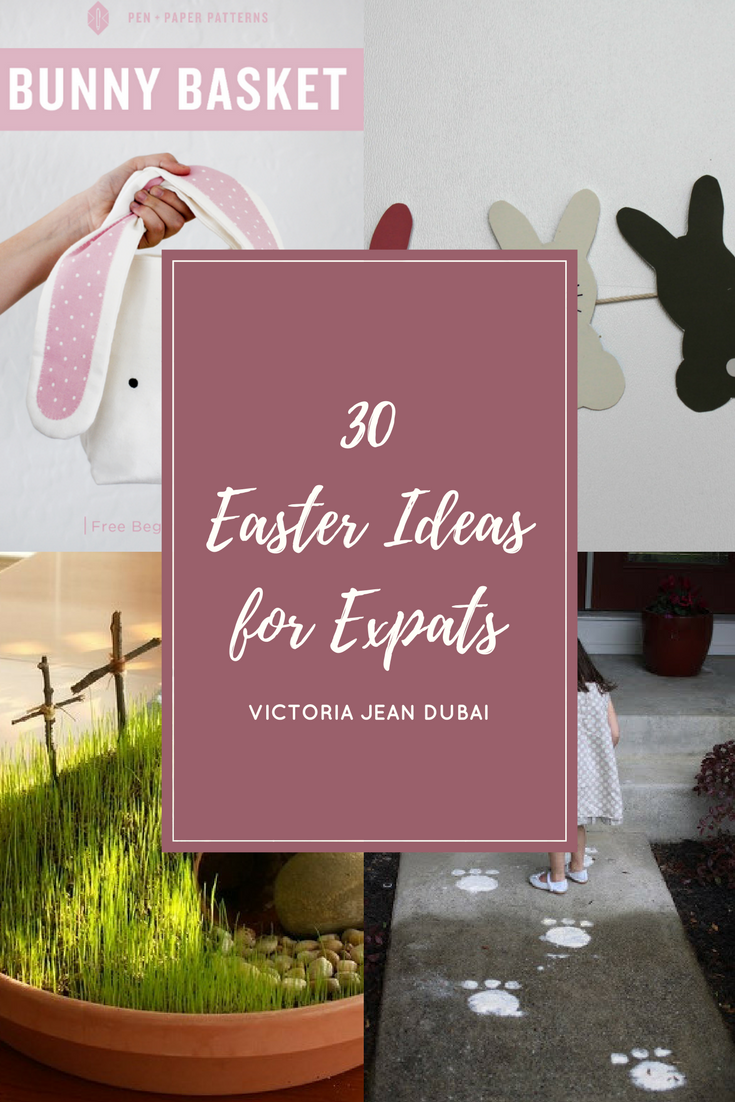
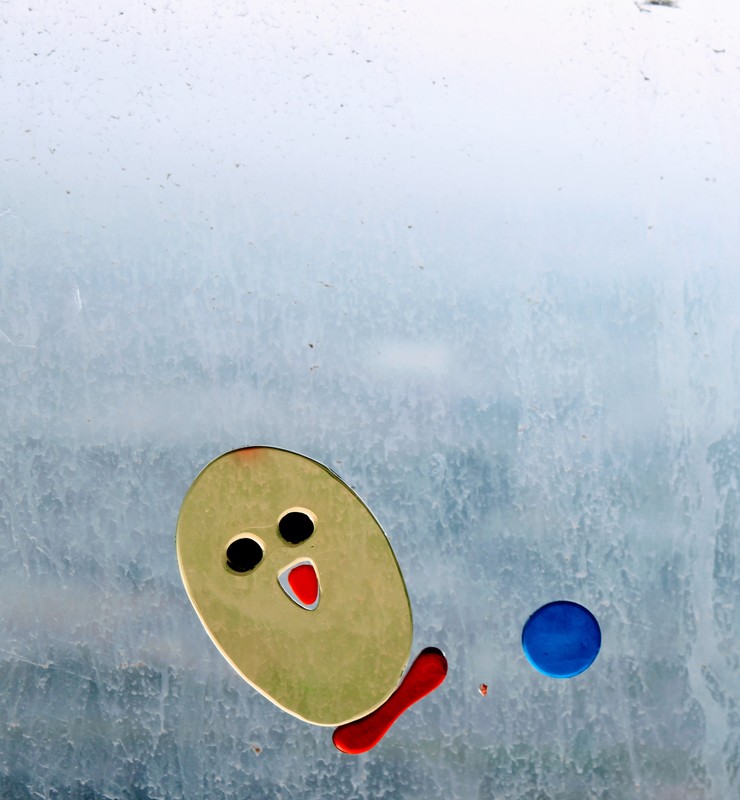
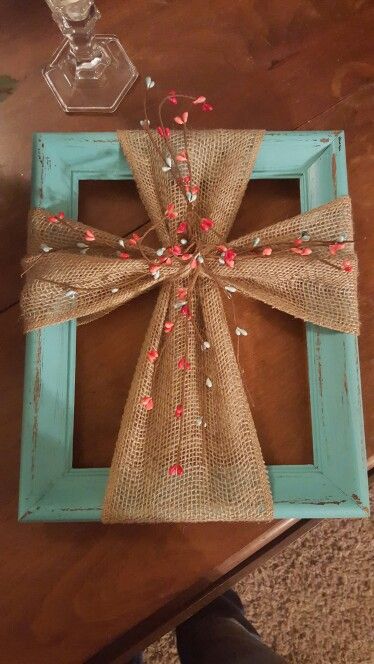
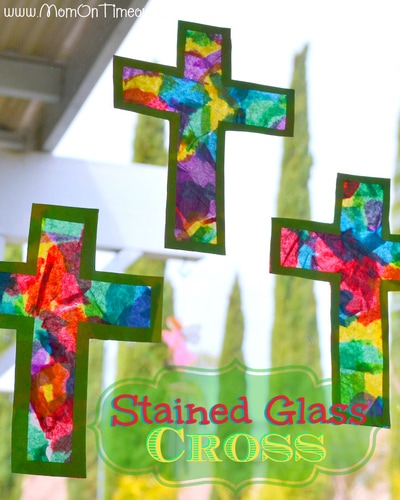
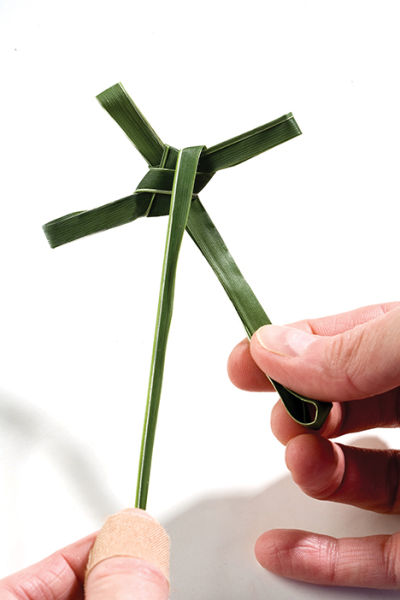
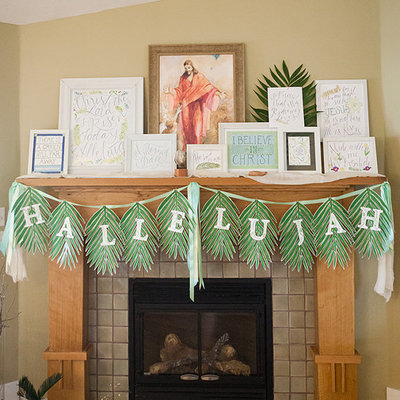
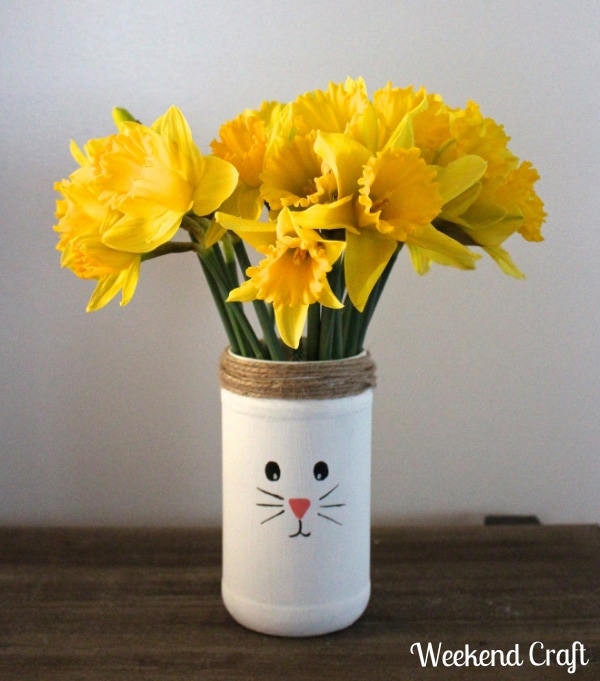
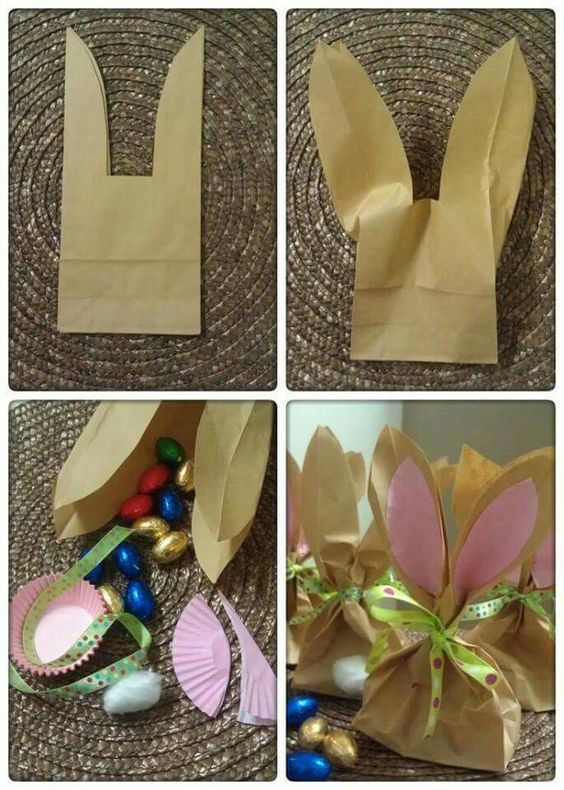
 Here comes Peter Cottontail, with his bulky baskets, cheap plastic eggs, insane amounts of horrendously expensive sugar, and oh - yeah, this is actually a religious holiday! How are you expected to haul all that around with you, you globetrotter, you? Are you supposed to buy it all over again every time you move? Nay! Here are some suggestions for an Easter worthy of expat celebrations - bunnies and Christianity included. Here's how our Easter 2017 is shaping up. Fresh flowers (especially if you never splurge on them other times in the year), paint chip bunnies, window clings, Easter grass, and our own little crafts are all contributing to what's going on in our household for the Easter season this year. Everything fits in a shoebox if I want to keep it, or if I don't, I won't shed any tears as they disappear. 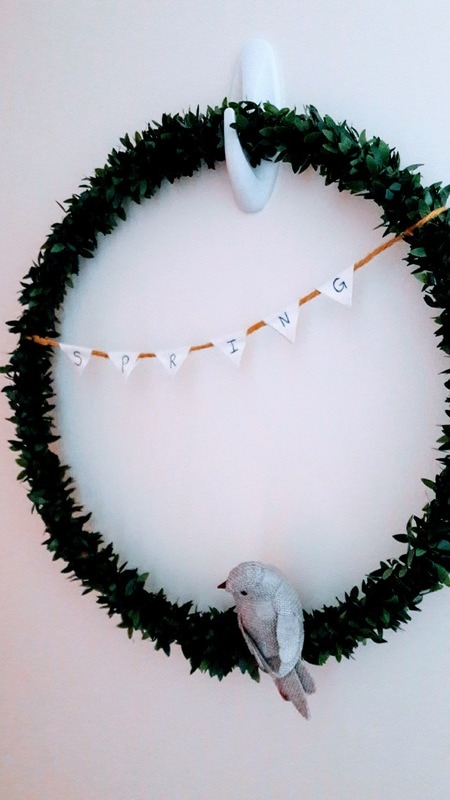 An embroidery hoop wrapped in little vines, with a "spring" pennant banner across and a craft bird nestled at the bottom. This is what greets visitors at our front door.
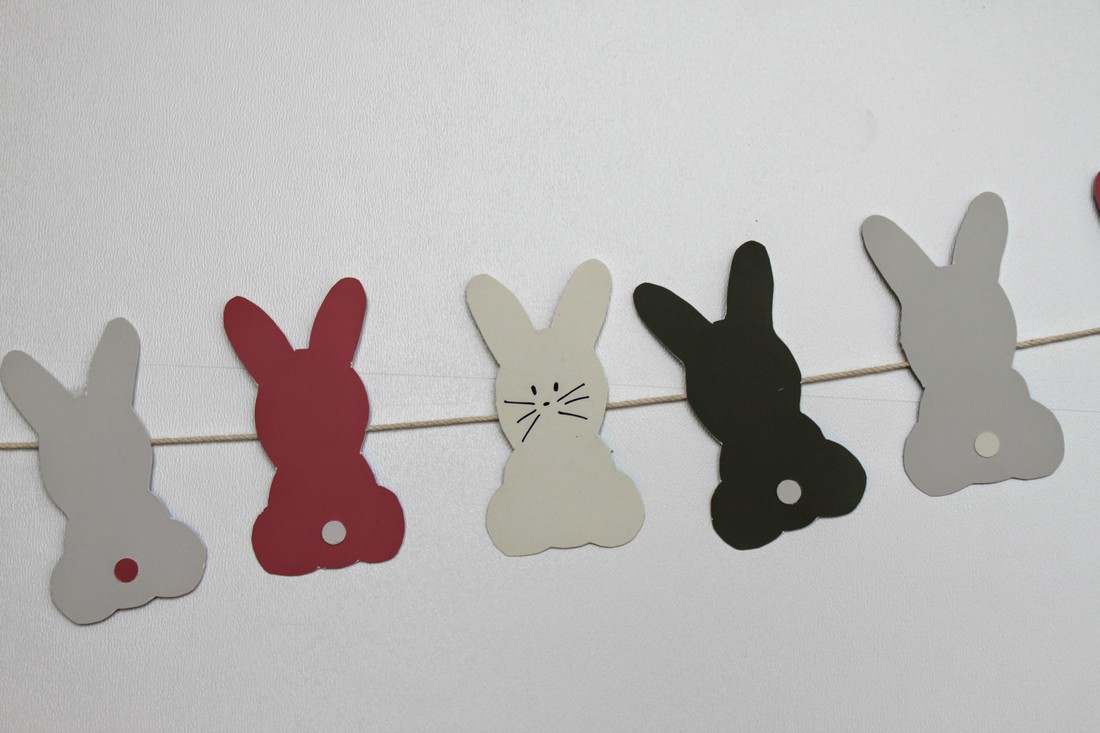
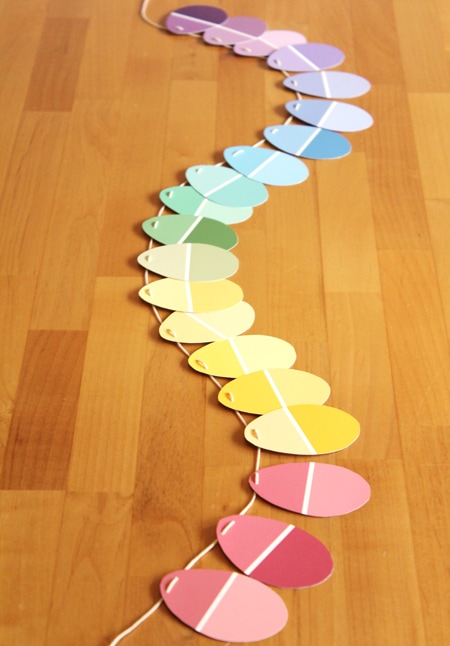
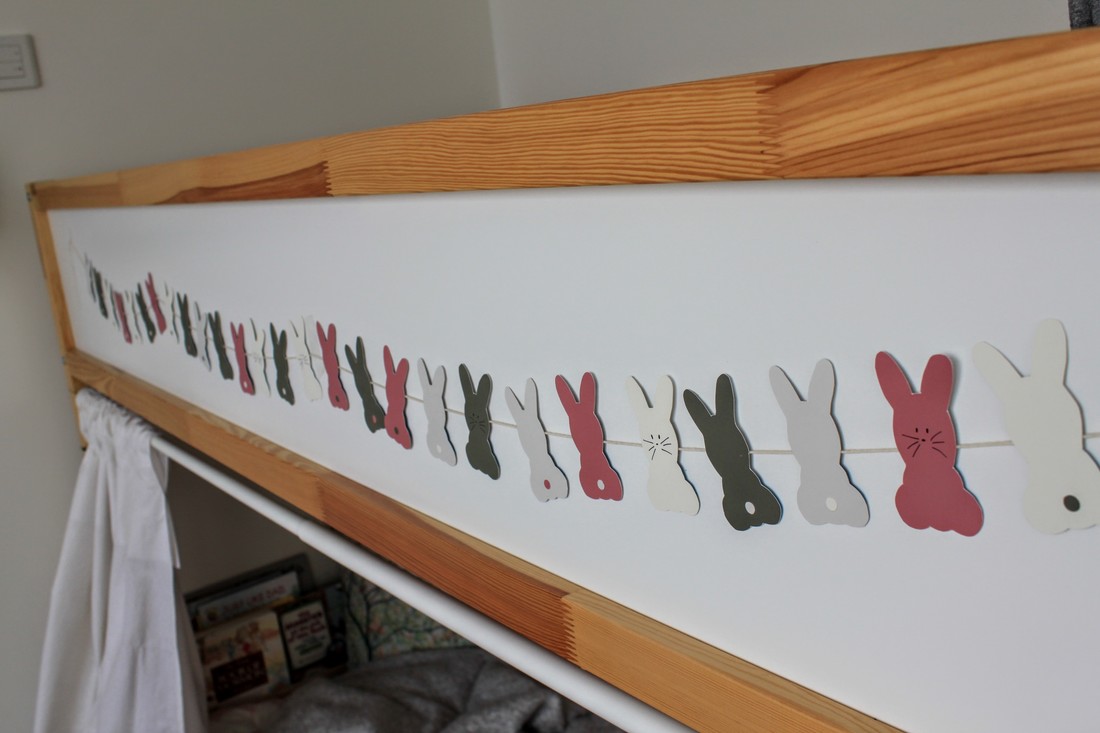 Paint chip banners are cute, free, and easy peasy. I chose colors to go with the girls' room
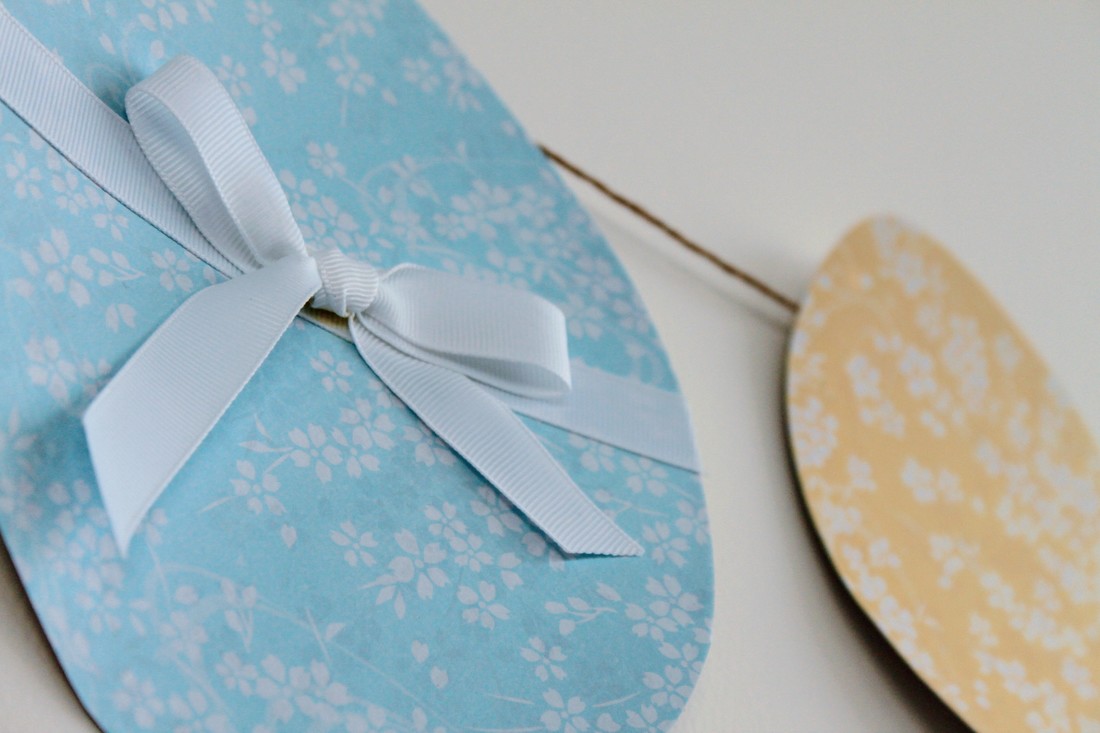
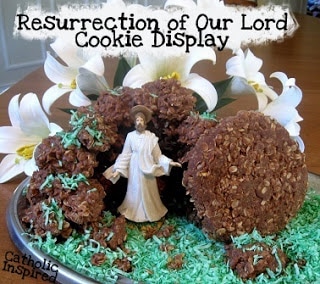
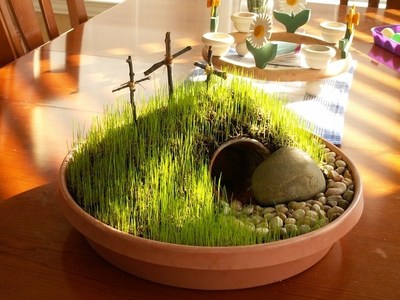
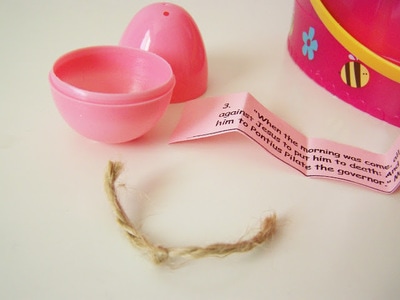
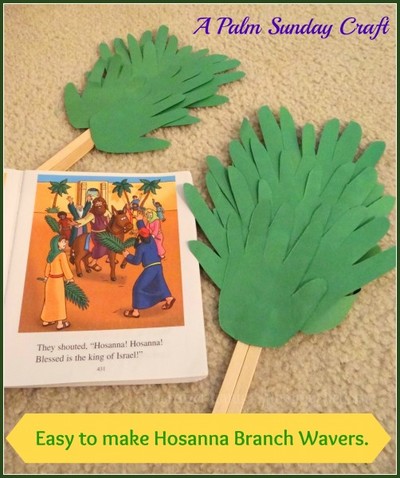
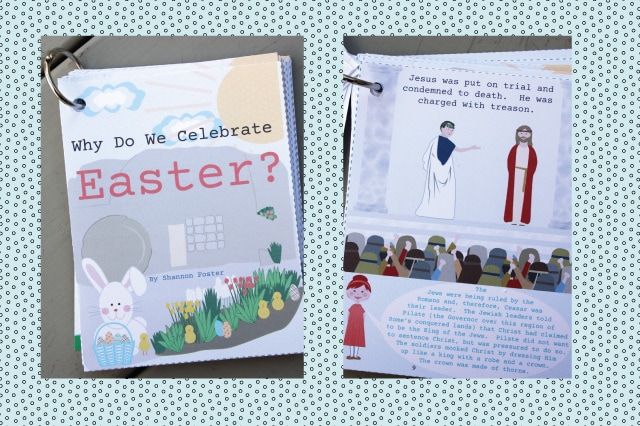
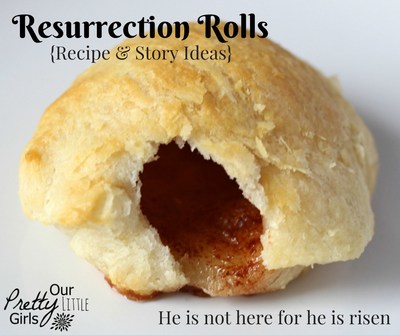
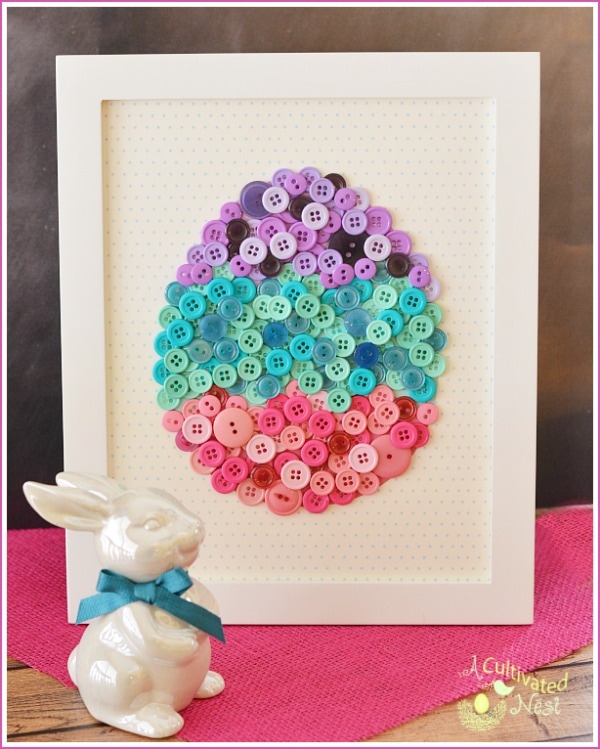
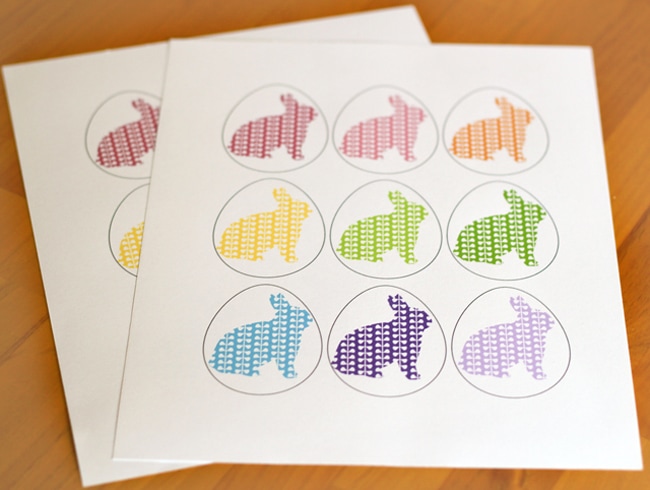
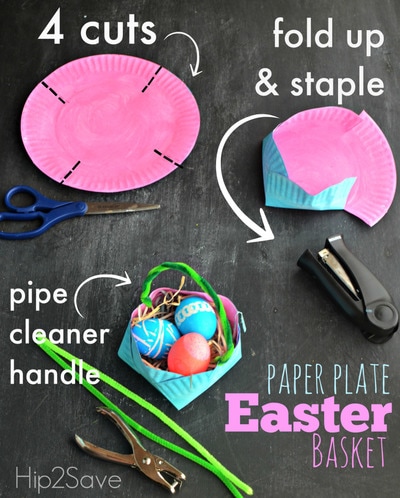
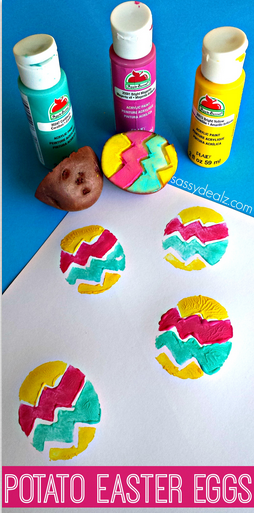
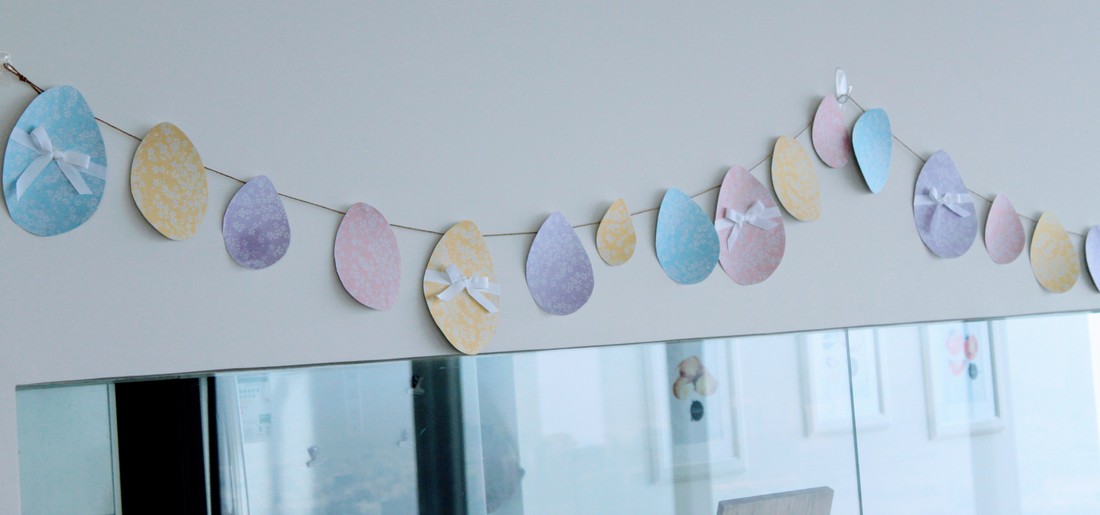 Our egg banner, made by gluing Daiso origami paper to egg shapes and putting little ribbon bows on the big ones Not pictured are some things like our growing Easter grass (still hidden in the dirt), and we haven't boiled and painted eggs yet. Not quite sure how we will do those this year with our little artist. And here are some lovely ideas from other sources! Religious Not so religious There you have it. Just a few ideas that you can hopefully make out of things already laying around. They are all small or flat, disposable, or better yet, edible! So hop to it! 
0 Comments
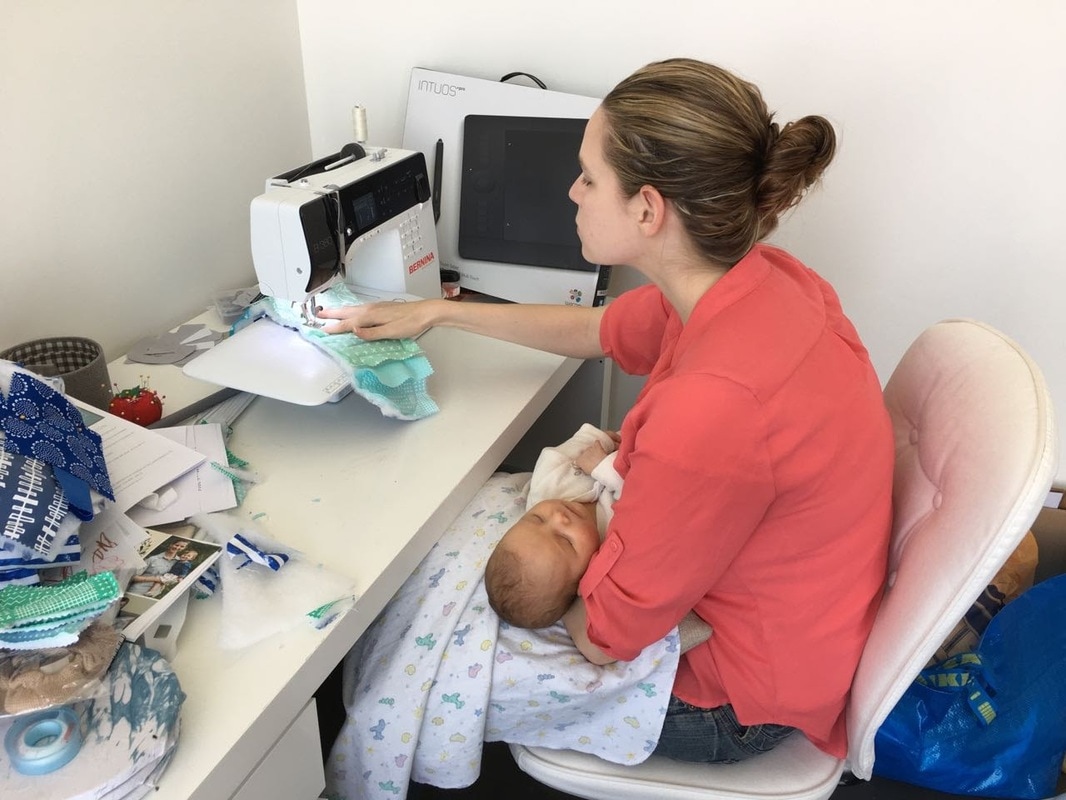
 A lot has been happening in our household, including a few pretty major things. In addition to the birth of our second, beautiful baby girl, I finally finished a project! For the first time in a long time, I was able to wrap up all loose ends and make something. While a baby was on my lap. Literally... 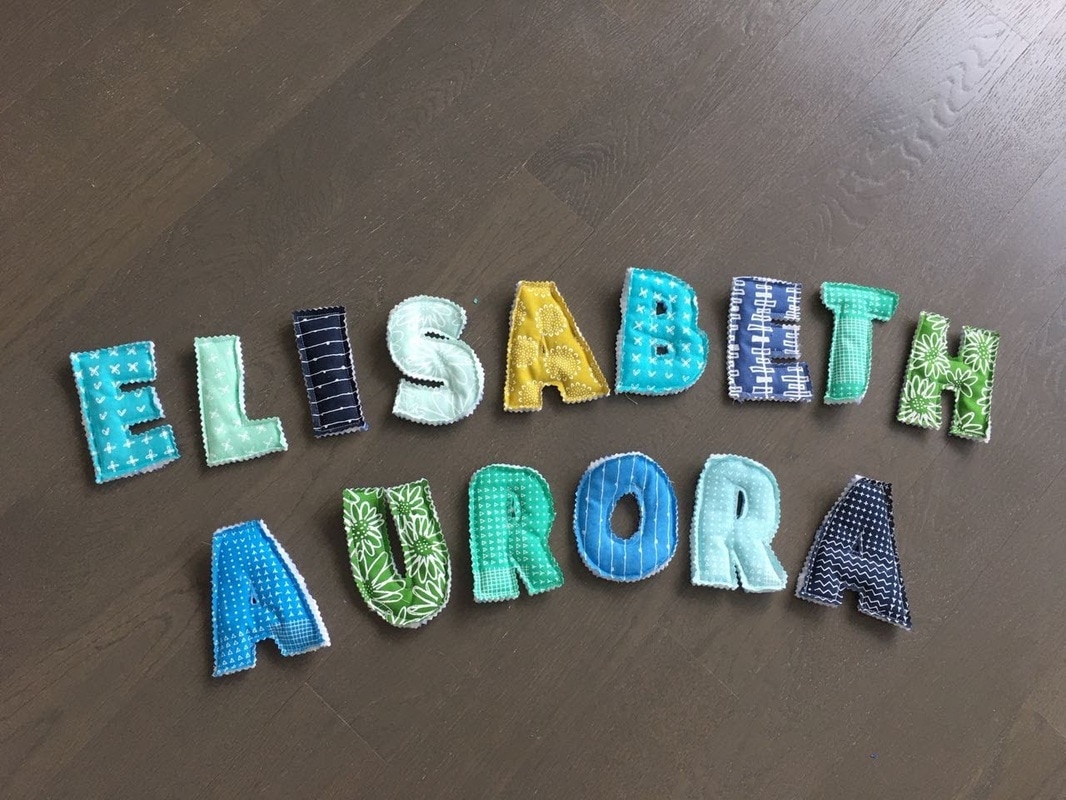
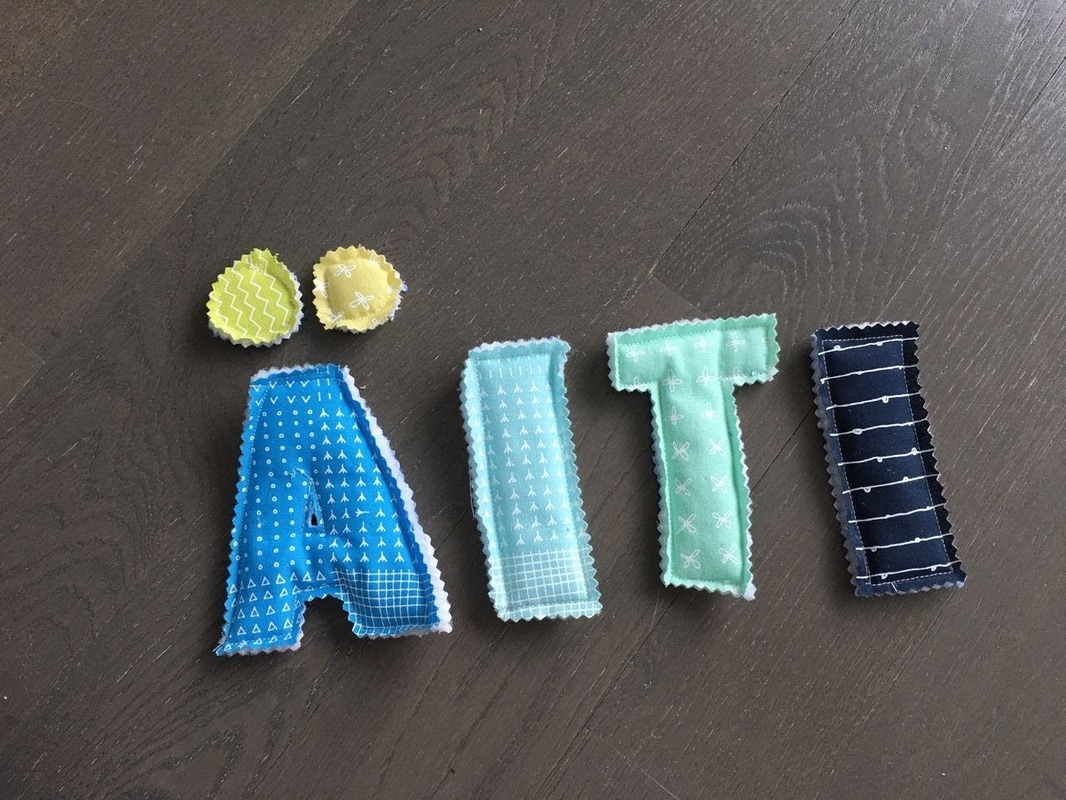
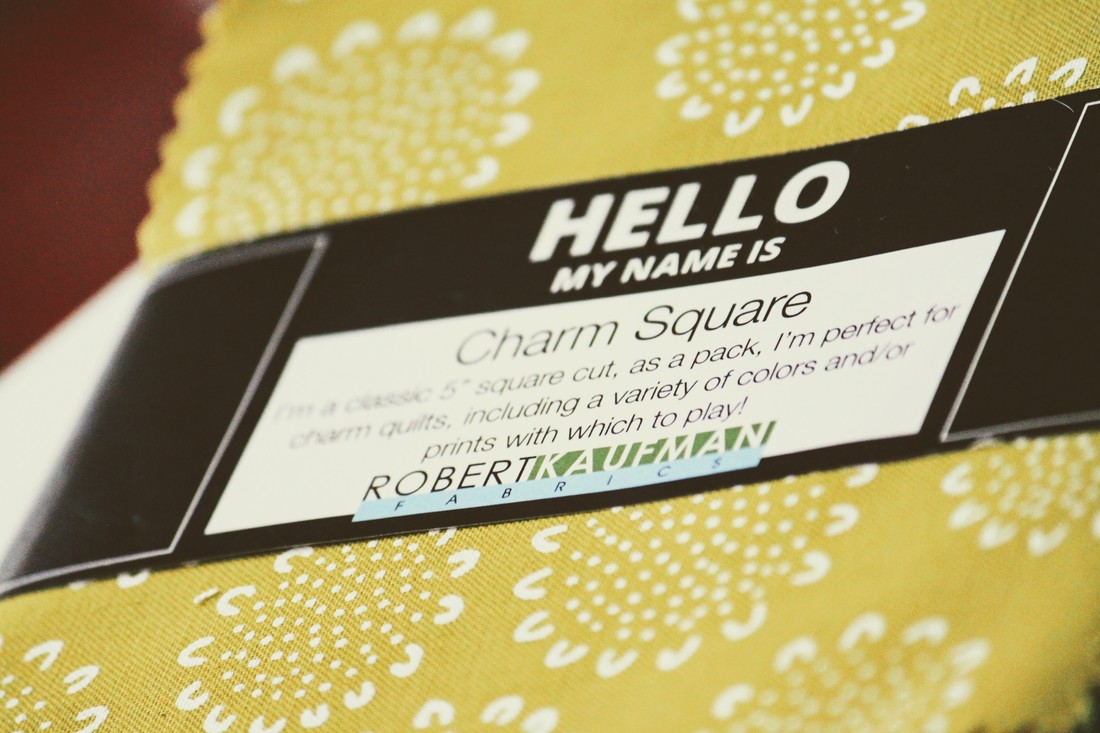
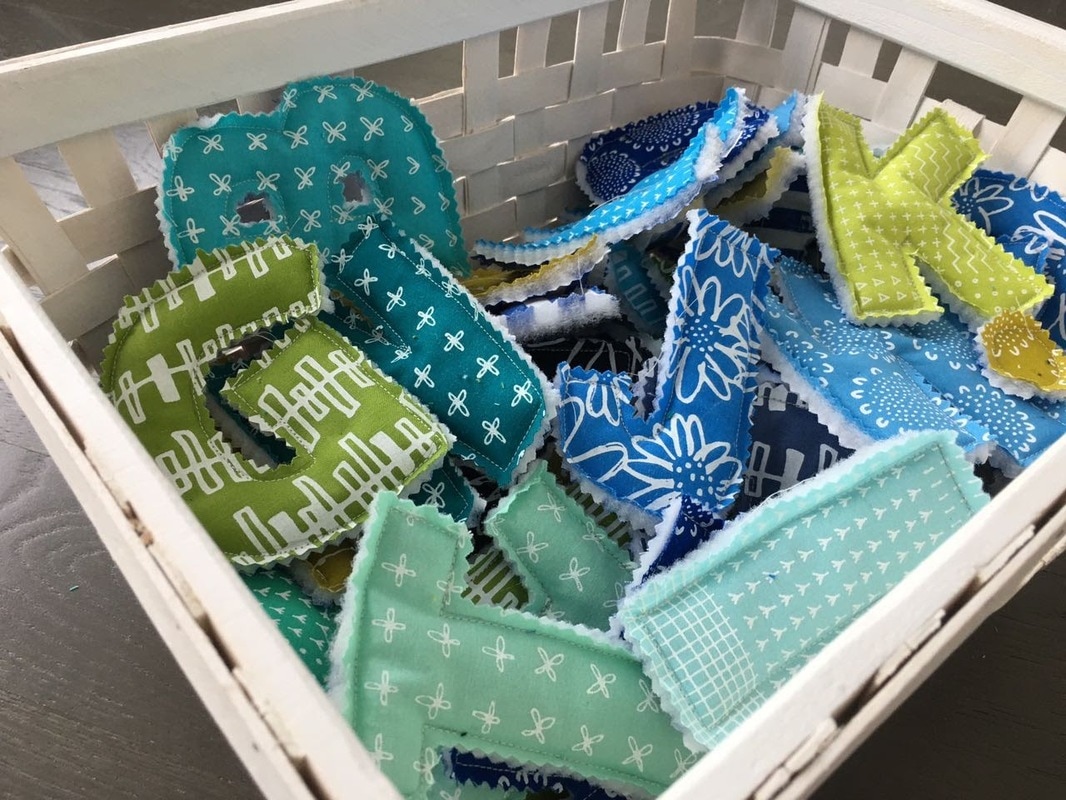
This was a trial run for a possible new product in the shop. I used a combination of tutorials from Happy Together By Jess and Sugar Bee Crafts. The letter pattern is from the latter. Go there to download the template for free. Unfortunately, I don't think this will be possible for me to make economically for Victoria Jean unless you ask me really nicely and are willing to pay a rather pretty penny. So, I'll pass along what I did in case you want to create your own. 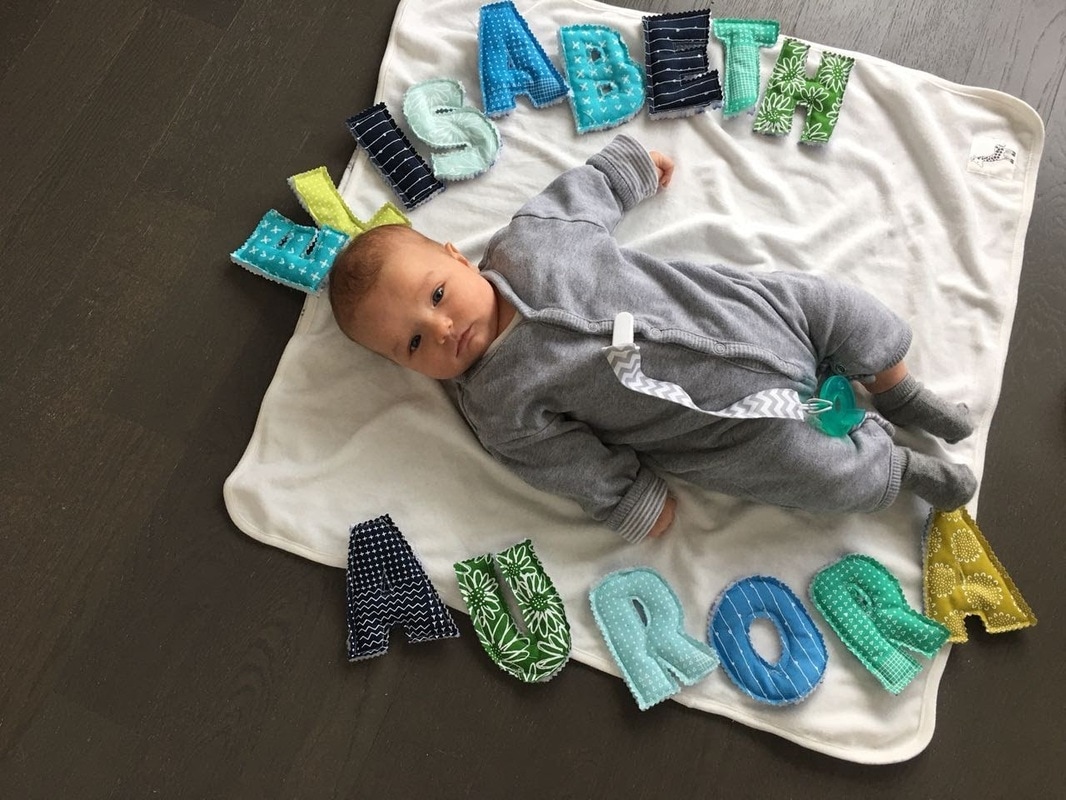 Instead of using scraps, I used a charm square pack from Missouri Star Quilt Company (my favorite fabric source) that I just love. This made the whole process incredibly easy since it was all matched and coordinated already. You can also use scraps, but let's get real, here. If I had to dig through my scraps to find enough that were big enough for letters... I'd still be digging. I used the same stripey fabric for the back of each letter, with a layer of batting between. I'd use a thinner batting for round 2 (though perhaps this will flatten out with time). I didn't iron the letters, but I may give it a whirl one of these days if I feel like it. Ha. You just let me know if you iron yours and tell me how it went. But only if it's not worth it, since I will never iron these things.
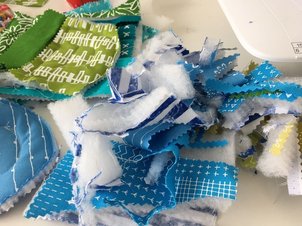
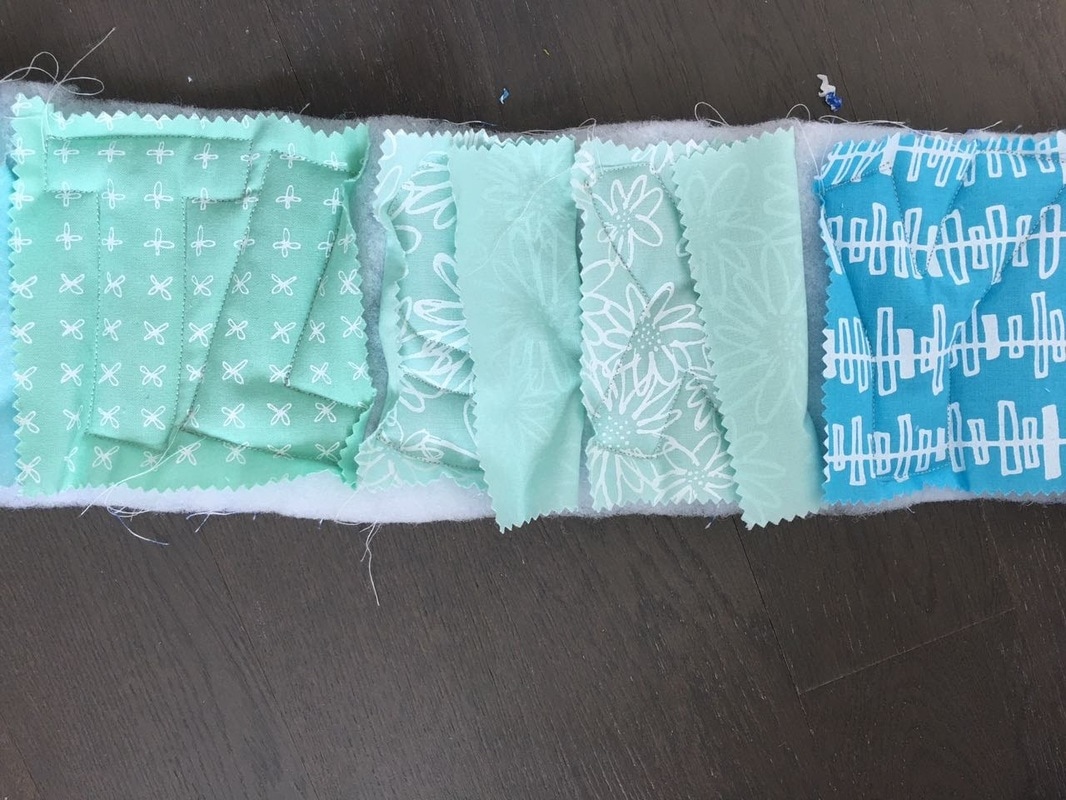 I just stuck the letters on the adorable fabric, right side up, traced, then pinned it in strips with the backing fabric and batting (wrong sides together, batting between). I sewed a line of letters production line style, cutting the length off after a letter here and there to make it a bit easier to work with the strip. I definitely got to know the knee-lift feature of my new Bernina. There's a lot of curves and turns in the alphabet! I used pinking shears to cut out the letters. I'd change the font for another round or edit the letters a bit so that the holes in them (especially the A's) would be larger - easier to cut and more visible. One more change - I thought an alphabet would be more useful if there were multiples of the letters, so I made 2 of most letters, and 3 of the ones I'm guessing are used the most in English or Finnish. Only time will tell if I correctly guessed what words we will be spelling in our home... 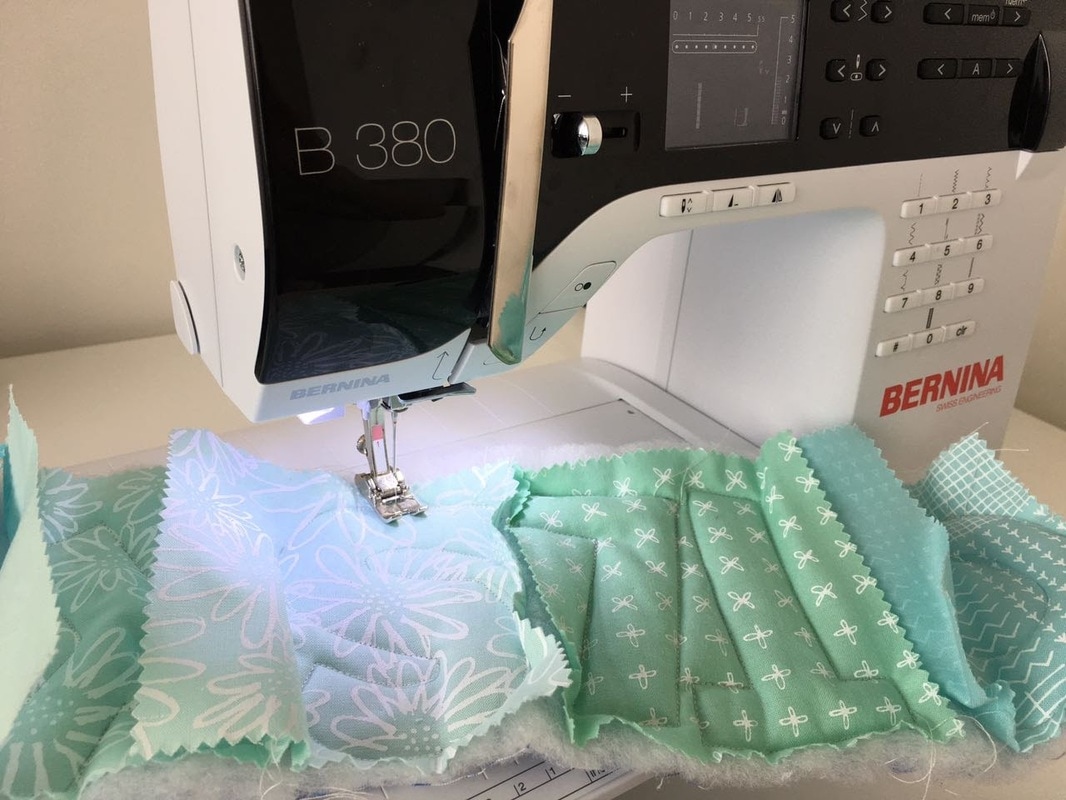
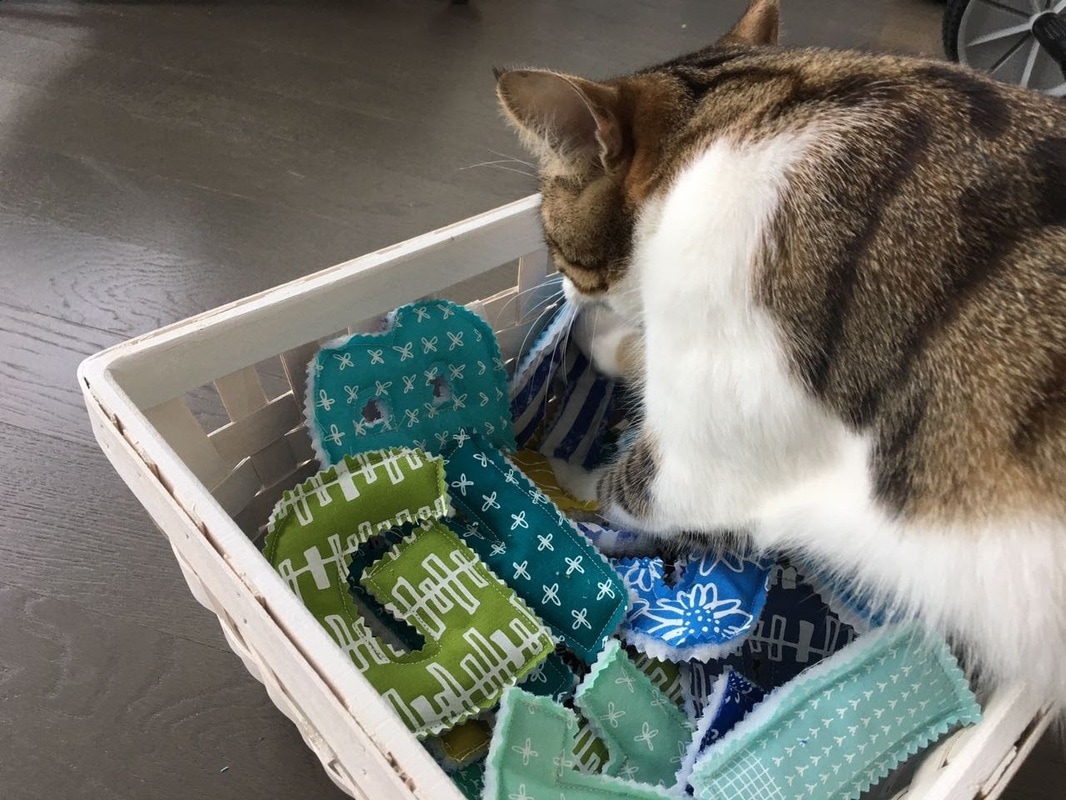
The finished product is both cat and toddler approved! It was overall a fun project for me, too. Hopefully this will be a great toy to help us all learn spelling for years to come.
|
AmandaI love herbs & spices, cats, low brass instruments, international relations, culture, traveling, writing, and most of all, my family. Archives
February 2019
Categories |

 RSS Feed