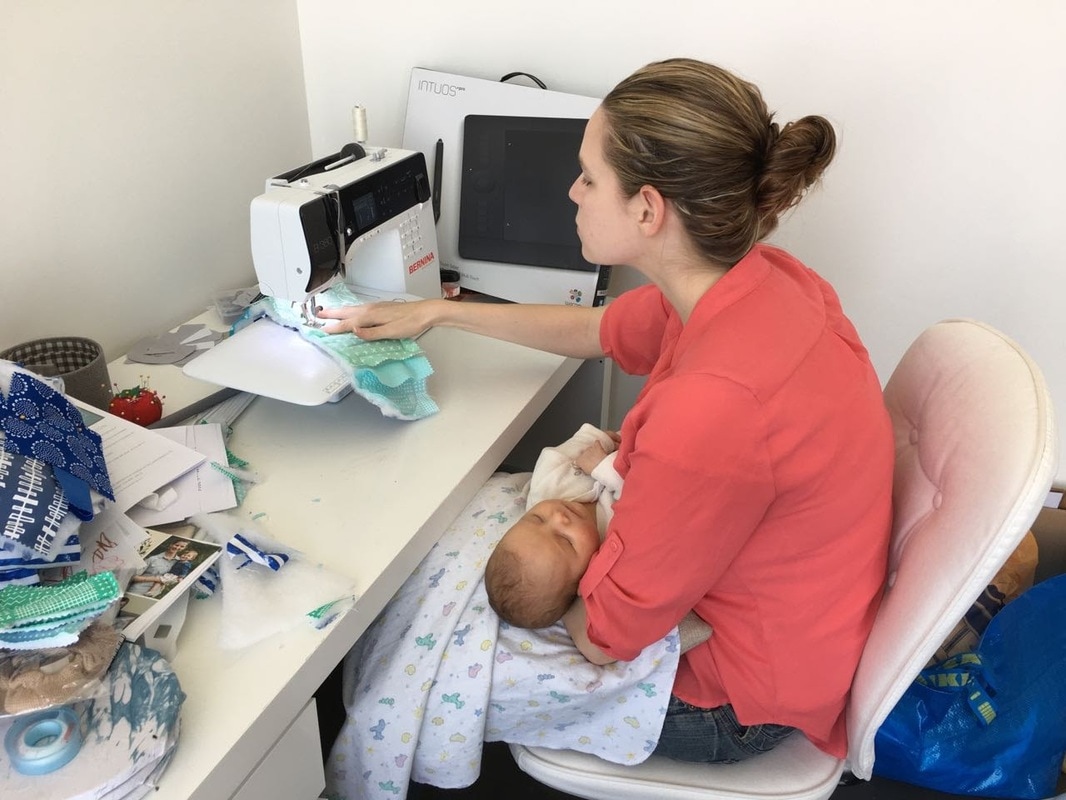
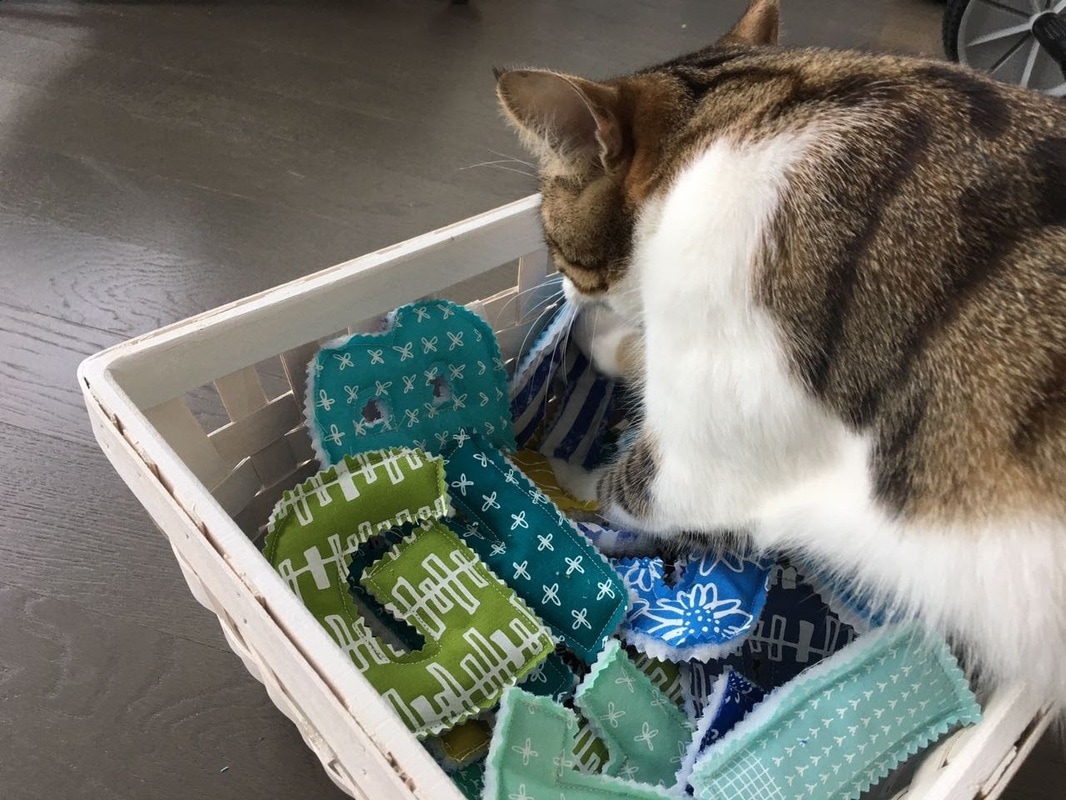
 A lot has been happening in our household, including a few pretty major things. In addition to the birth of our second, beautiful baby girl, I finally finished a project! For the first time in a long time, I was able to wrap up all loose ends and make something. While a baby was on my lap. Literally... 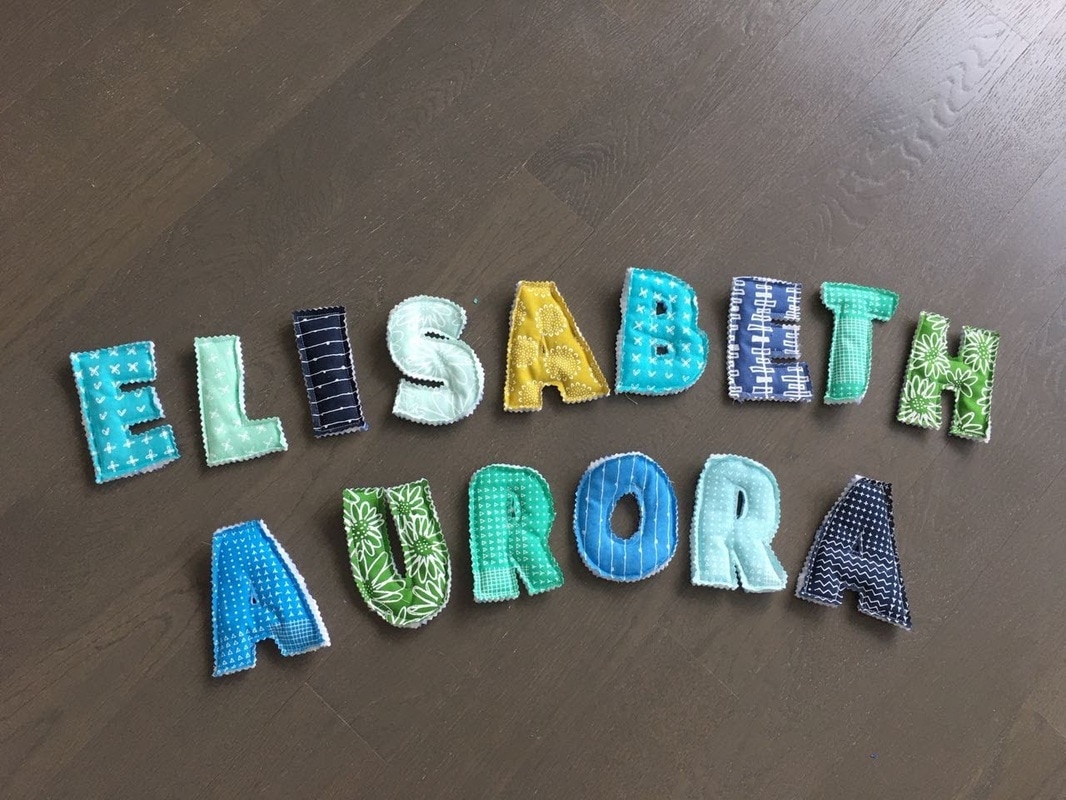
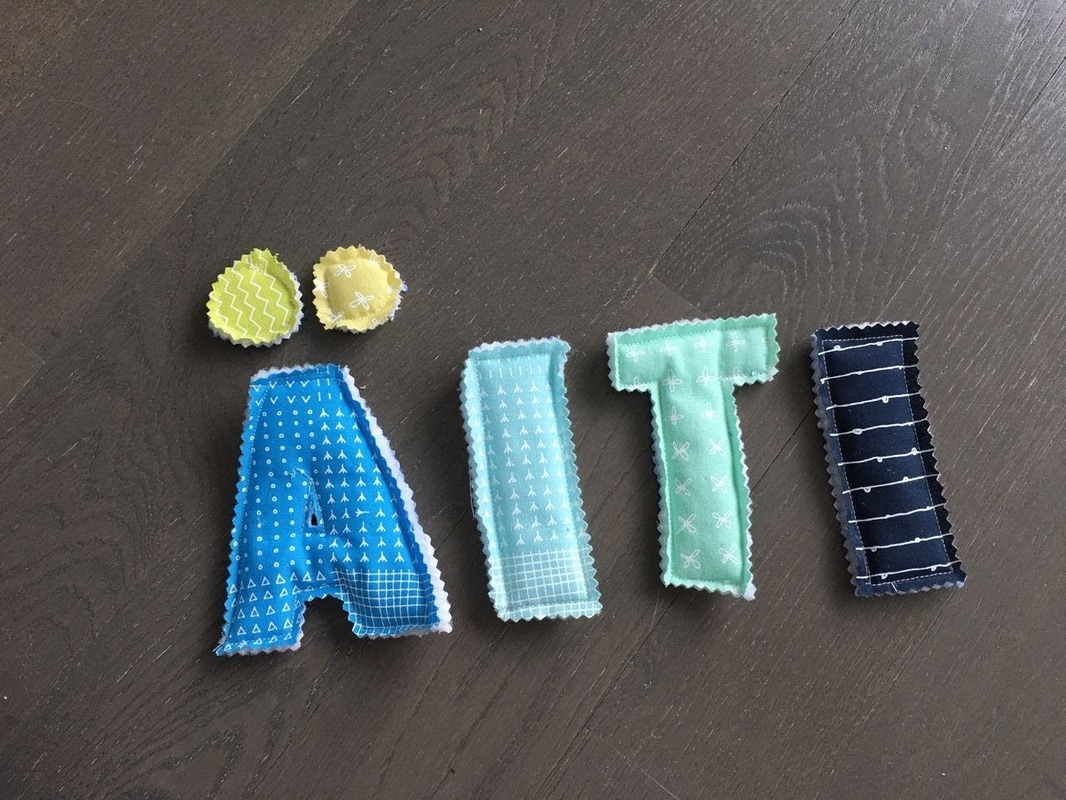
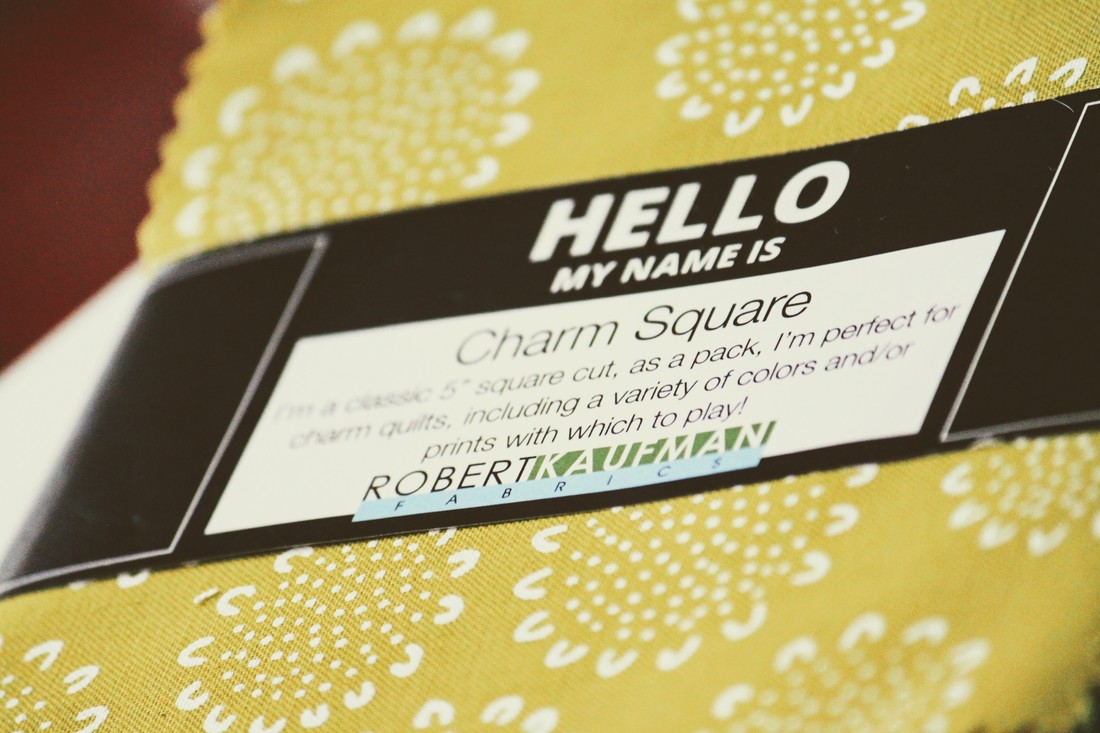
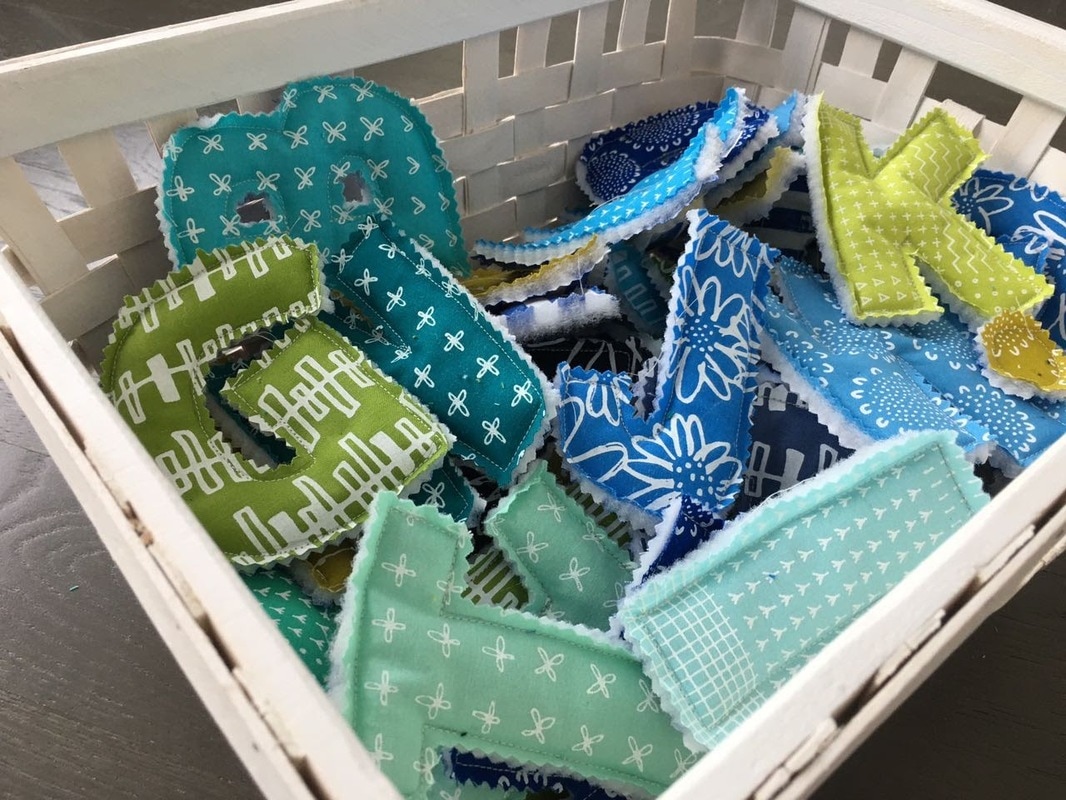
This was a trial run for a possible new product in the shop. I used a combination of tutorials from Happy Together By Jess and Sugar Bee Crafts. The letter pattern is from the latter. Go there to download the template for free. Unfortunately, I don't think this will be possible for me to make economically for Victoria Jean unless you ask me really nicely and are willing to pay a rather pretty penny. So, I'll pass along what I did in case you want to create your own. 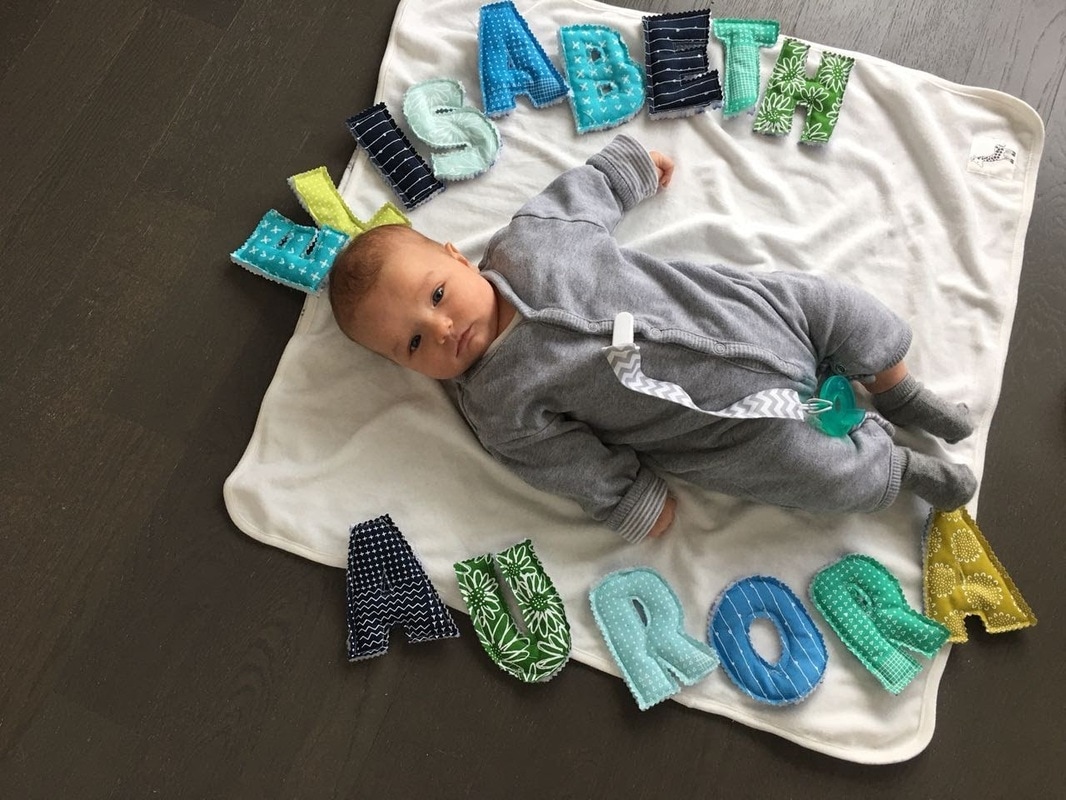 Instead of using scraps, I used a charm square pack from Missouri Star Quilt Company (my favorite fabric source) that I just love. This made the whole process incredibly easy since it was all matched and coordinated already. You can also use scraps, but let's get real, here. If I had to dig through my scraps to find enough that were big enough for letters... I'd still be digging. I used the same stripey fabric for the back of each letter, with a layer of batting between. I'd use a thinner batting for round 2 (though perhaps this will flatten out with time). I didn't iron the letters, but I may give it a whirl one of these days if I feel like it. Ha. You just let me know if you iron yours and tell me how it went. But only if it's not worth it, since I will never iron these things.
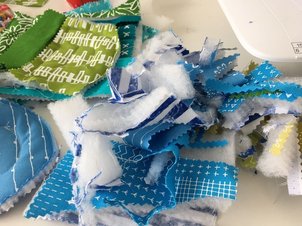
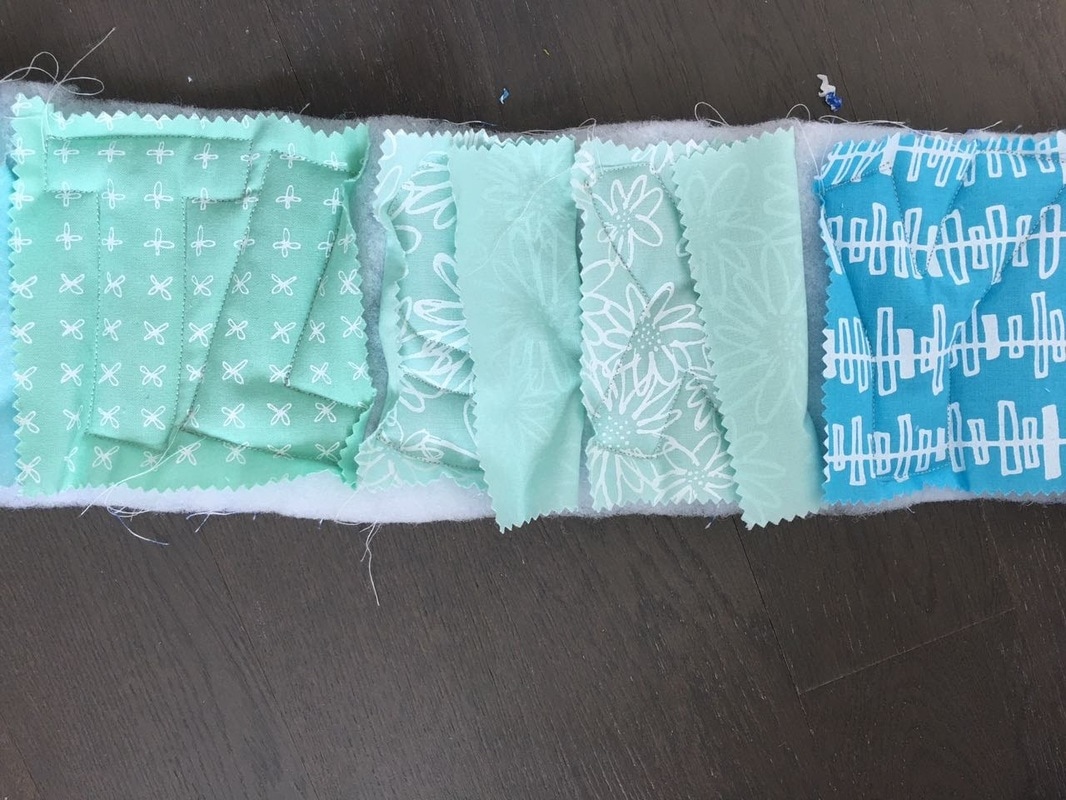 I just stuck the letters on the adorable fabric, right side up, traced, then pinned it in strips with the backing fabric and batting (wrong sides together, batting between). I sewed a line of letters production line style, cutting the length off after a letter here and there to make it a bit easier to work with the strip. I definitely got to know the knee-lift feature of my new Bernina. There's a lot of curves and turns in the alphabet! I used pinking shears to cut out the letters. I'd change the font for another round or edit the letters a bit so that the holes in them (especially the A's) would be larger - easier to cut and more visible. One more change - I thought an alphabet would be more useful if there were multiples of the letters, so I made 2 of most letters, and 3 of the ones I'm guessing are used the most in English or Finnish. Only time will tell if I correctly guessed what words we will be spelling in our home... 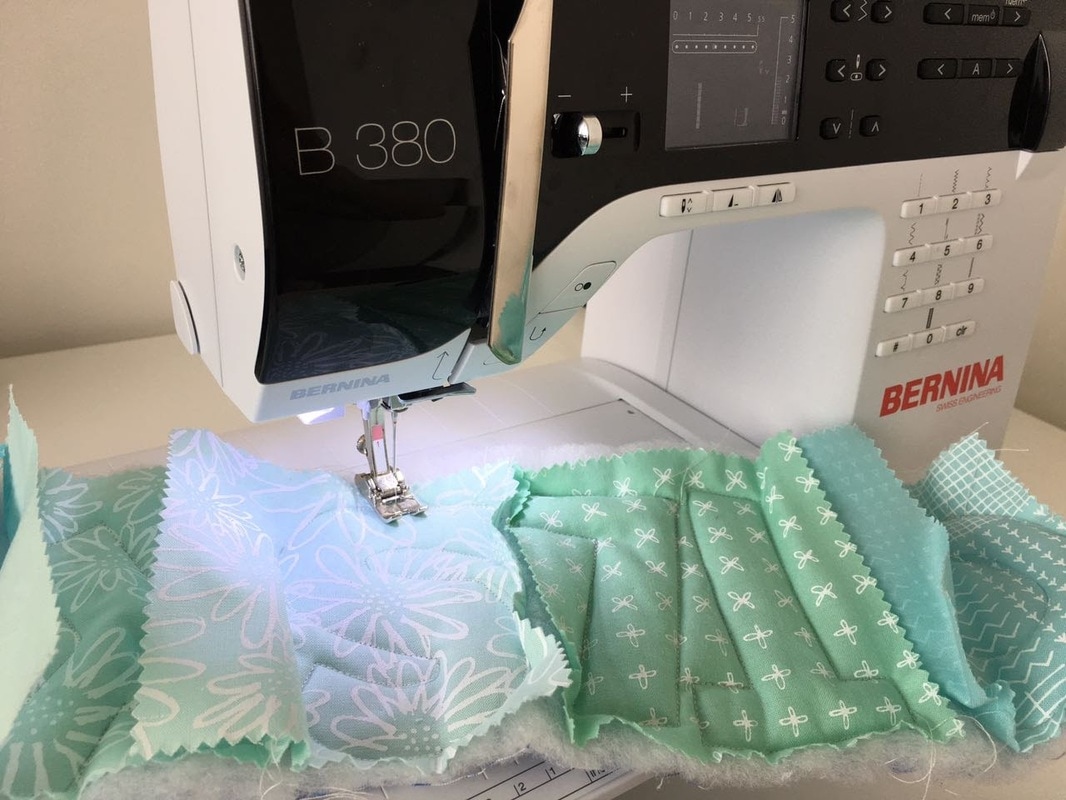
The finished product is both cat and toddler approved! It was overall a fun project for me, too. Hopefully this will be a great toy to help us all learn spelling for years to come.
4 Comments
11/12/2017 10:41:01 pm
Thank you for the sharing good knowledge and information its very helpful and understanding.. as I have been looking for this information since long time. Regards <a href="http://alamaldubai.com/interior-painting-service-dubai/"> Paint Decorating Company in Dubai </a> 12/16/2017 06:04:43 am
Thank you for the sharing good knowledge and information, it’s very helpful and understanding... as we are looking for this information since long time. Regards <a href="http://alamaldubai.com/wooden-polishing-dubai/">Wooden Floor Polishing Service in Dubai</a> 10/29/2019 07:45:21 pm
Awesome and interesting article. Great things you've always shared with us. Thanks. Leave a Reply. |
AmandaI love herbs & spices, cats, low brass instruments, international relations, culture, traveling, writing, and most of all, my family. Archives
February 2019
Categories |
 RSS Feed